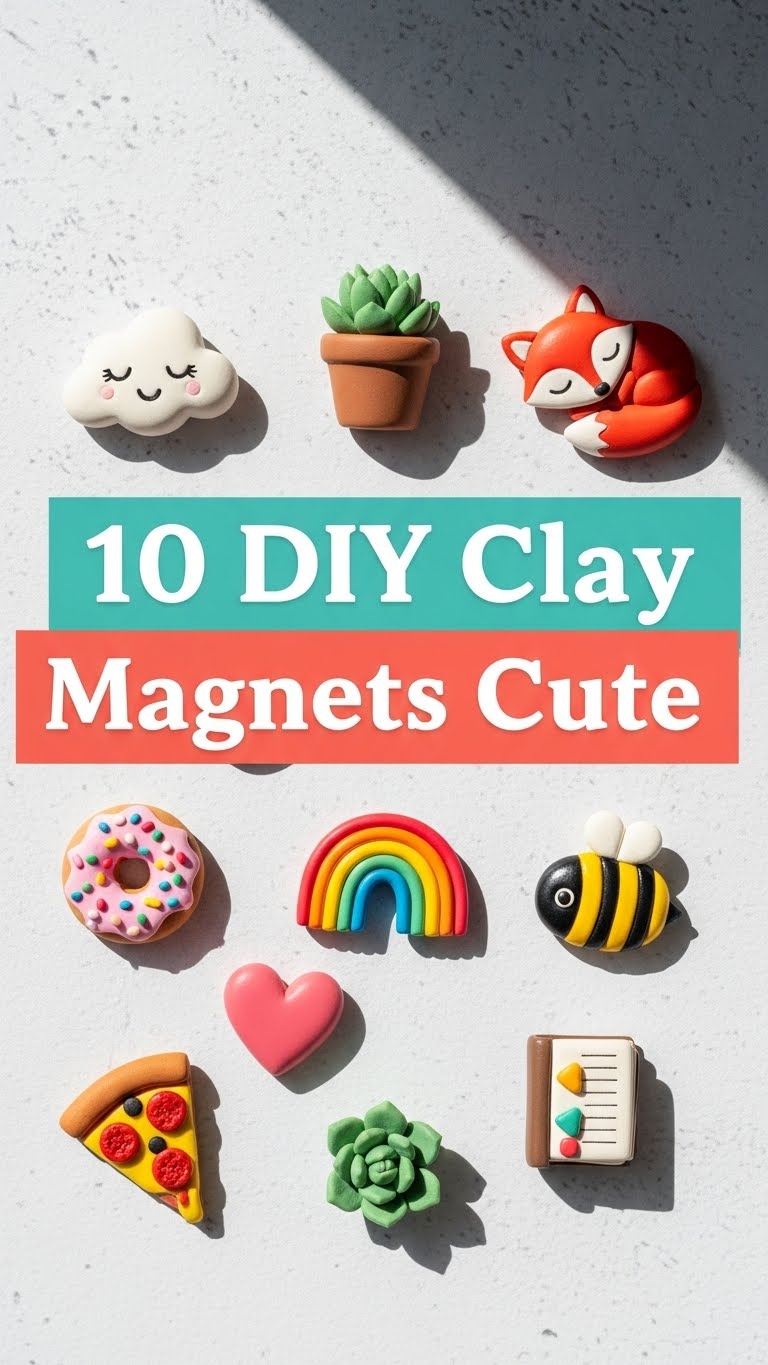
Clay magnets are one of the most enjoyable and creative DIY crafts because they are simple to make, customizable, and perfect for gifting or decorating your fridge or magnetic board. Whether you love working with air dry clay or oven bake polymer clay, these projects allow you to express your artistic side with minimal tools and affordable materials. In this detailed guide, you will learn ten cute clay magnet ideas, each thoroughly explained to help you achieve professional looking results even if you are a complete beginner. Each section covers preparation, materials needed, and a clear explanation of the crafting steps.

1. Mini Fruit Clay Magnets
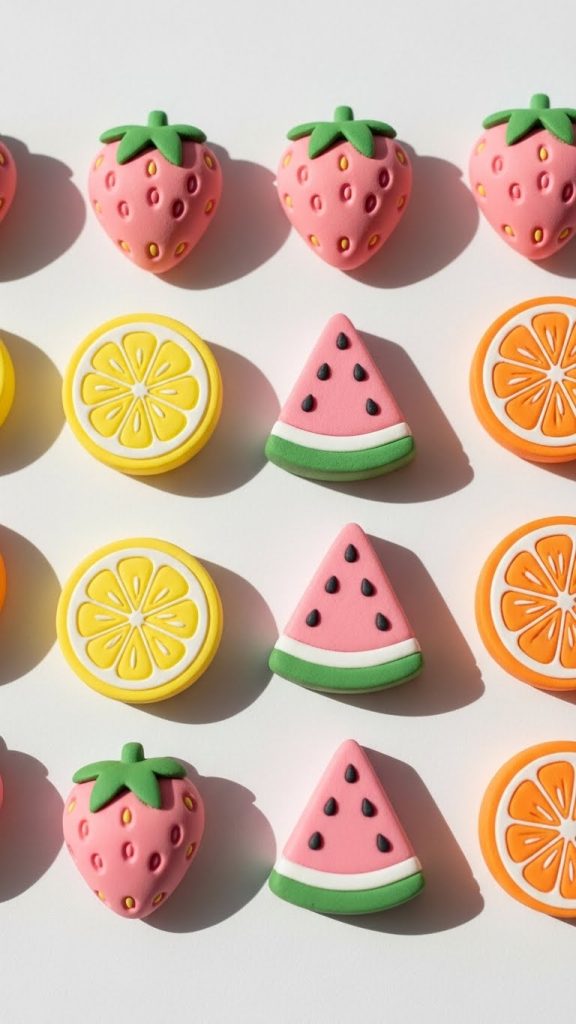
Mini fruit clay magnets are one of the easiest and cutest projects for beginners. Start by gathering air dry clay or polymer clay in colors like red, green, yellow, orange, and pink. If you only have white clay, acrylic paints can be used later to add color. For shaping, you will need a small craft knife, a rolling pin, and toothpicks for adding lines or texture. Before beginning, prepare your workspace by placing parchment paper on the table to prevent sticking. Conditioning the clay is important for polymer clay. Knead it until soft and smooth so that the shapes remain clean and crack free.
To create the fruit shapes, roll small pieces of clay into spheres or ovals. Shape them into strawberries, watermelons, lemons, or oranges. Add details like seeds or leaf tops using a toothpick. If using polymer clay, bake your fruits following the temperature instructions on the clay package. If using air dry clay, allow them to dry for twenty four hours. After drying, paint and seal with a matte varnish. Finally, glue a small magnet on the back using strong craft glue. These fruit magnets add playful charm to any kitchen setting.
2. Pastel Heart Clay Magnets
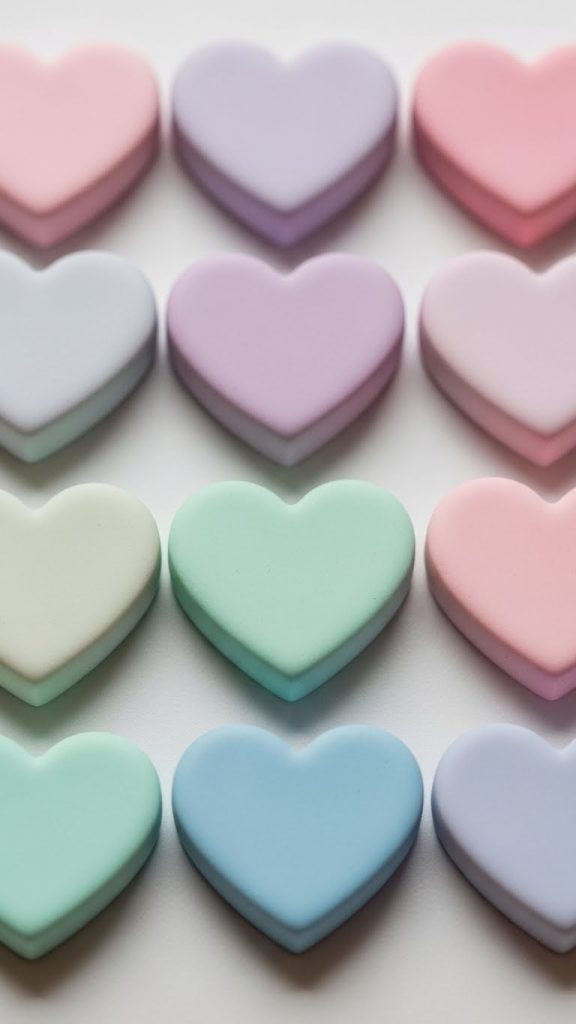
Pastel hearts are perfect if you love soft colors and simple shapes. Begin by preparing pastel colored clay or use white air dry clay and add paint afterwards. You will need a heart shaped cookie cutter, rolling pin, sandpaper, and craft glue. Set up a clean workspace lined with parchment paper. Condition the clay thoroughly before rolling it out. For even thickness, place two wooden sticks on each side of the clay and roll until flat.
Use the cookie cutter to create uniform heart shapes. If you prefer freehand shaping, mold the hearts using your fingers, smoothing edges with water for air dry clay. Allow the hearts to dry for a day or bake polymer clay according to package directions. Once hardened, lightly sand the surface for a smooth finish. Paint each heart in pastel shades like lilac, mint, soft pink, and baby blue. You may add simple patterns using a thin brush. Apply varnish to protect the paint. Glue magnets on the back and press firmly. These pastel heart magnets are perfect for gift sets, mood boards, or romantic decor.
3. Animal Face Clay Magnets
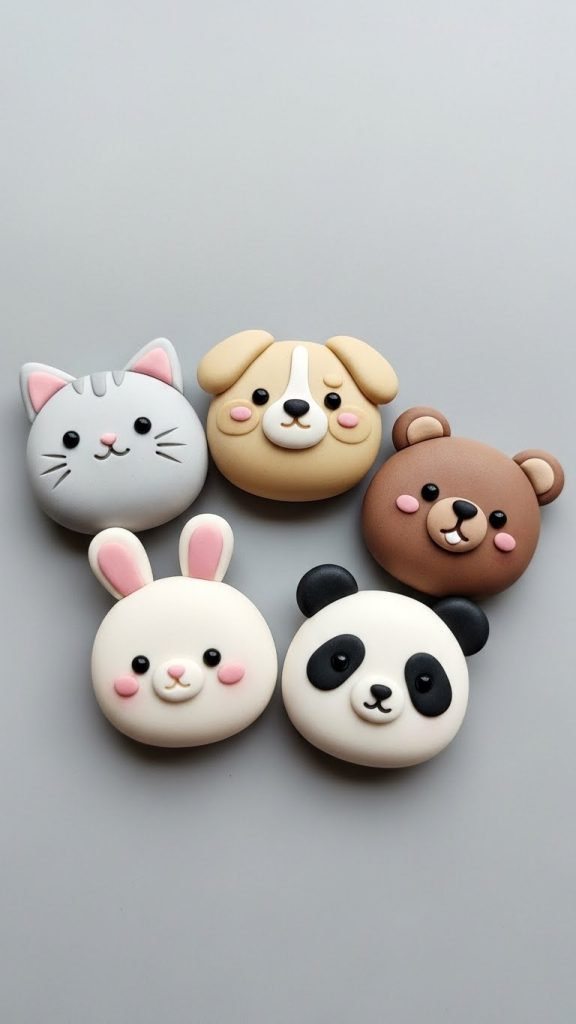
Cute animal face magnets require a bit more detail but result in adorable decorative pieces. Choose your animals such as cat, dog, bear, bunny, koala, or panda. Prepare polymer clay or air dry clay along with basic sculpting tools, a small needle tool or toothpick, rolling pin, and paint. Start by kneading the clay until soft. Form small round disks for the animal faces by flattening balls of clay. Next, create small ears for each animal and attach them using slight pressure.
For facial features, you can either sculpt them from tiny clay pieces or wait until the clay is dry and paint the details. If sculpting, use a needle tool to create indentations for eyes and mouth. After forming all pieces, bake or dry completely. Once hardened, paint the features using black, white, brown, or pink acrylic colors. Seal with a matte sealer for durability. Use strong craft glue to attach magnets to the back. These animal face magnets bring playful charm to refrigerators, lockers, or children’s study spaces.
4. Floral Clay Magnets
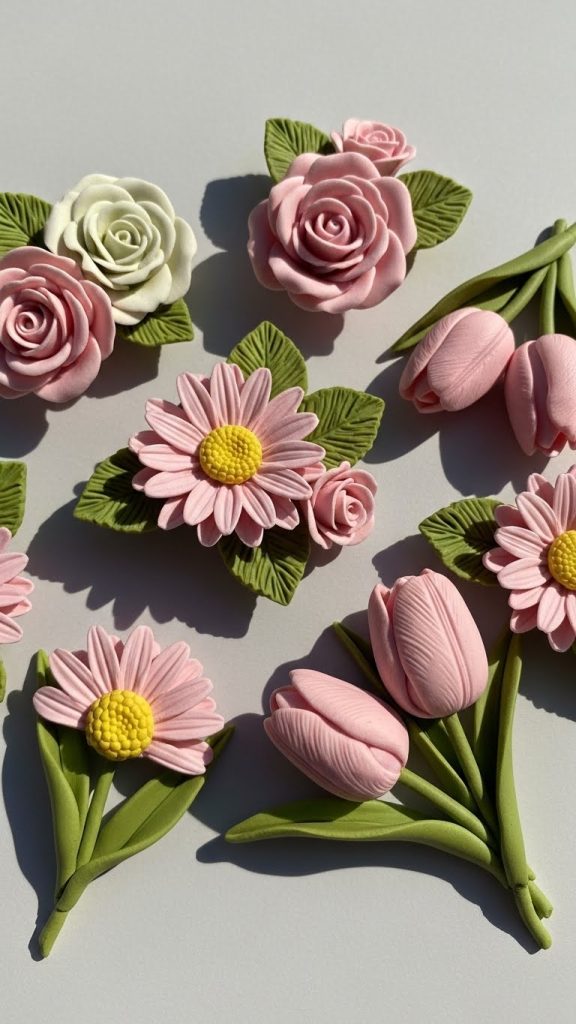
Floral clay magnets allow you to bring the beauty of nature into your indoor spaces. Start with air dry clay or polymer clay in shades of pink, green, yellow, and white. If you only have neutral clay, you can paint the flowers later. Prepare sculpting tools like clay cutters, toothpicks, and a small rolling pin. Begin by conditioning the clay until it is pliable. Roll the clay into thin sheets and cut out petal shapes using a small leaf shaped cutter or a craft knife.
Assemble the petals around a small clay ball to form roses, daisies, or tulips. For leaves, flatten green clay and cut leaf shapes with slight texture lines using a toothpick. Attach flowers and leaves together with gentle pressure. Allow the structure to dry fully or bake depending on the clay type. After hardening, paint details like color gradients and highlights. Seal with varnish for a glossy finish. Glue magnets to the back of each flower. These floral magnets are perfect for spring themed decor or handmade gift sets.
5. Mini Clay Donut Magnets
Mini donuts are fun, colorful, and perfect for cute kitchen decor. You will need polymer clay in brown, beige, white, and pastel colors along with a small round cutter and a toothpick. Start by conditioning your clay thoroughly. Roll small balls and flatten them into donut shapes. Create a hole in the center using a toothpick or the end of a paintbrush. Smooth the edges with your fingers.
Next, create frosting by flattening a thin piece of colored clay. Cut out a ring slightly smaller than the donut and place it on top. Add tiny sprinkles using very small clay rolls or dots. Attach them gently so they do not fall off after baking. Place your donuts on baking parchment and bake as instructed. Allow them to cool completely before handling. If using air dry clay, allow them to dry naturally then paint the frosting and sprinkles. Seal with gloss varnish to mimic real donut shine. Glue magnets onto the back. These donut magnets are cute additions to any fridge or snack bar area.

6. Clay Letter Magnets
Clay letters are great for personalizing spaces, creating names, initials, or inspirational words. Prepare alphabet cookie cutters or shape the letters manually. Use polymer or air dry clay along with paint, rolling pin, sandpaper, and strong glue. Begin by conditioning the clay and rolling it into an even sheet. Use cutters to create letters or shape them by hand. Make sure each letter is thick enough to hold a magnet without bending.
Allow the letters to dry or bake fully. Once hardened, lightly sand edges to achieve smoothness. Paint the letters in colors that match your theme. Metallic colors such as gold, silver, or bronze give an elegant feel while pastel shades offer a softer look. You may also add patterns like stripes or polka dots. Seal the letters with varnish to protect the paint. Glue magnets securely on the back. These letter magnets work well for classroom boards, office organization, or home message boards.

7. Galaxy Swirl Clay Magnets
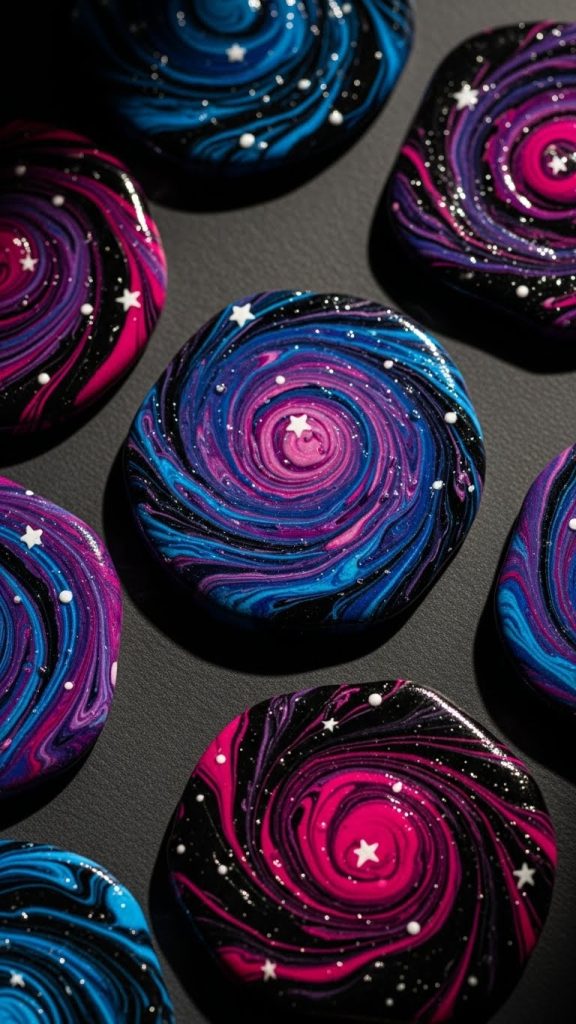
Galaxy clay magnets are visually striking and involve blending different clay colors to create a space inspired swirl effect. Prepare polymer clay in black, dark blue, purple, pink, and white. Start by conditioning each color separately. Roll each clay into thin logs and twist them together. Fold and twist repeatedly until a soft marbled pattern forms. Be careful not to over mix or the colors will blend into one shade.
Roll the clay flat and cut out shapes using round or star shaped cutters. Smooth edges gently with your fingers. Bake the pieces according to instructions and let them cool. After hardening, paint tiny stars or sparkles using a fine brush and white paint. You can add a glossy varnish to enhance the galaxy effect. Attach magnets to the back with strong glue. These magnets look elegant and artistic and are perfect for modern or celestial themed decor.
8. Cute Food Shape Clay Magnets
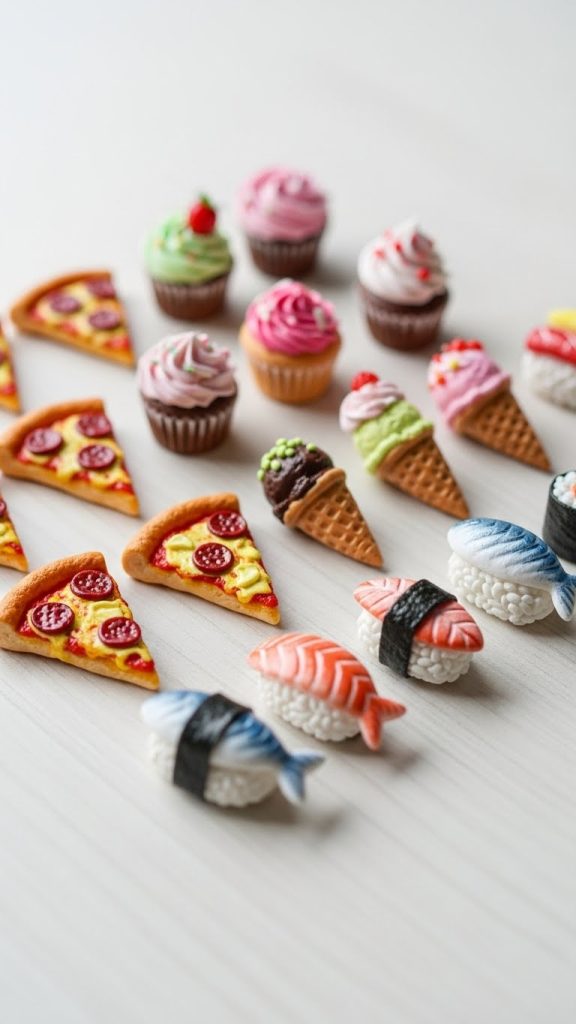
Crafting food themed magnets allows you to explore fun miniature art. You can create slices of pizza, hamburgers, cupcakes, ice cream cones, or sushi pieces. Prepare clay in various colors or use white clay and paint later. Condition the clay well before shaping. Start by forming the base shapes. For example, create a pizza slice by shaping a triangle and adding a crust border. Add details like cheese, pepperoni, or vegetables using tiny clay pieces.
For cupcakes, form a small cup shape and add a swirled top using rolled clay. Add tiny details such as sprinkles using small dots of clay. Once shaped, dry or bake according to clay type. After hardening, paint details to bring out realism. Use gloss varnish for desserts to create a realistic sheen. Glue magnets to the back. These food magnets add charm to kitchen spaces and can be used as fun fridge accessories.
9. Clay Plant Pot and Leaf Magnets
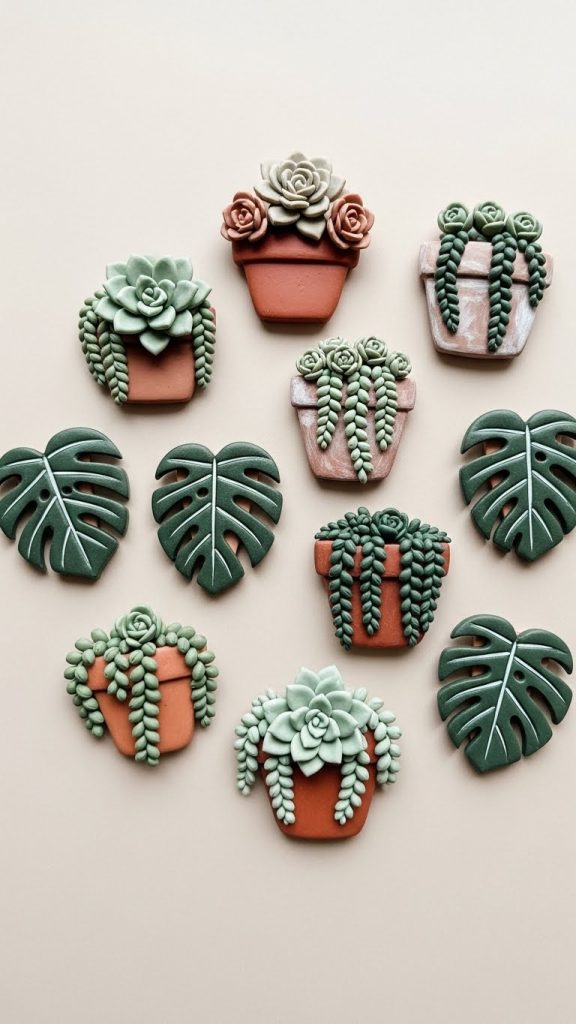
Plant themed clay magnets are excellent if you love greenery but want low maintenance decor. Begin with clay in green, brown, and white. Condition the clay and shape small plant pots by forming tiny cup shapes. Smooth the edges. Create leaves such as monstera, fern, or succulent leaves by flattening clay and cutting shapes with a craft knife. Add vein details using a toothpick.
Assemble the pots and leaves together. Allow them to dry fully or bake them if using polymer clay. After hardening, paint details for depth such as darker shades near leaf veins or highlights on the pot. Seal with varnish and attach magnets. These plant magnets bring a refreshing and natural look to your fridge or workspace and are a great project for nature lovers.
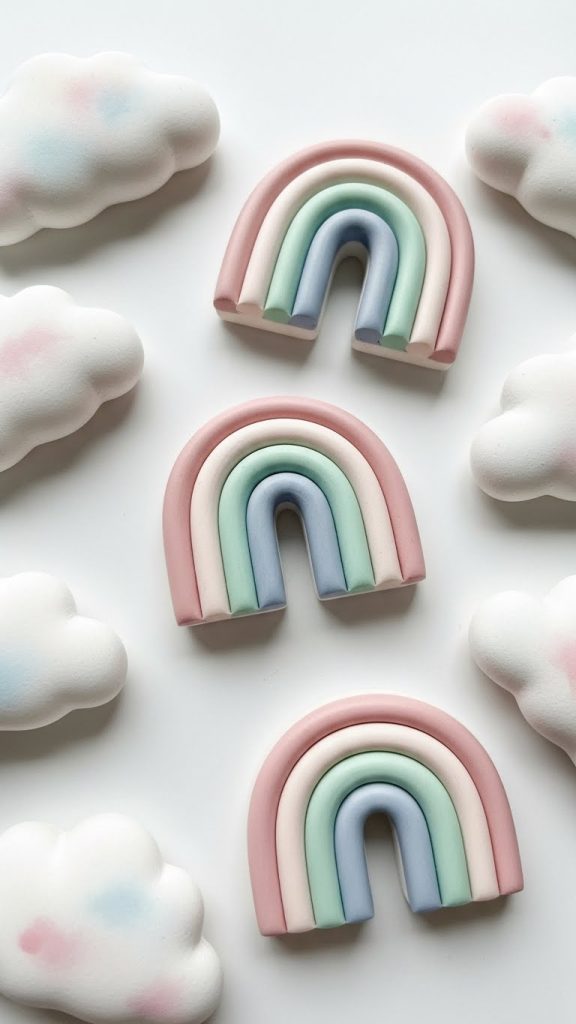
10. Clay Cloud and Rainbow Magnets
Cloud and rainbow magnets offer a cheerful and whimsical style. Prepare white clay for cloud shapes and multiple colored clays for rainbow arches. Start by conditioning your clay. Shape small fluffy cloud forms by softening the edges with your fingers. For rainbows, roll thin logs of colored clay and arrange them in an arch pattern. Press them gently together so they bond well.
Allow the shapes to dry or bake depending on clay type. Once hardened, paint soft highlights or add pastel shading for a more dreamy effect. Seal with a protective varnish. Attach magnets securely to the back. These magnets are ideal for childrens rooms, classrooms, or any bright and uplifting decor theme.


Leave a Reply