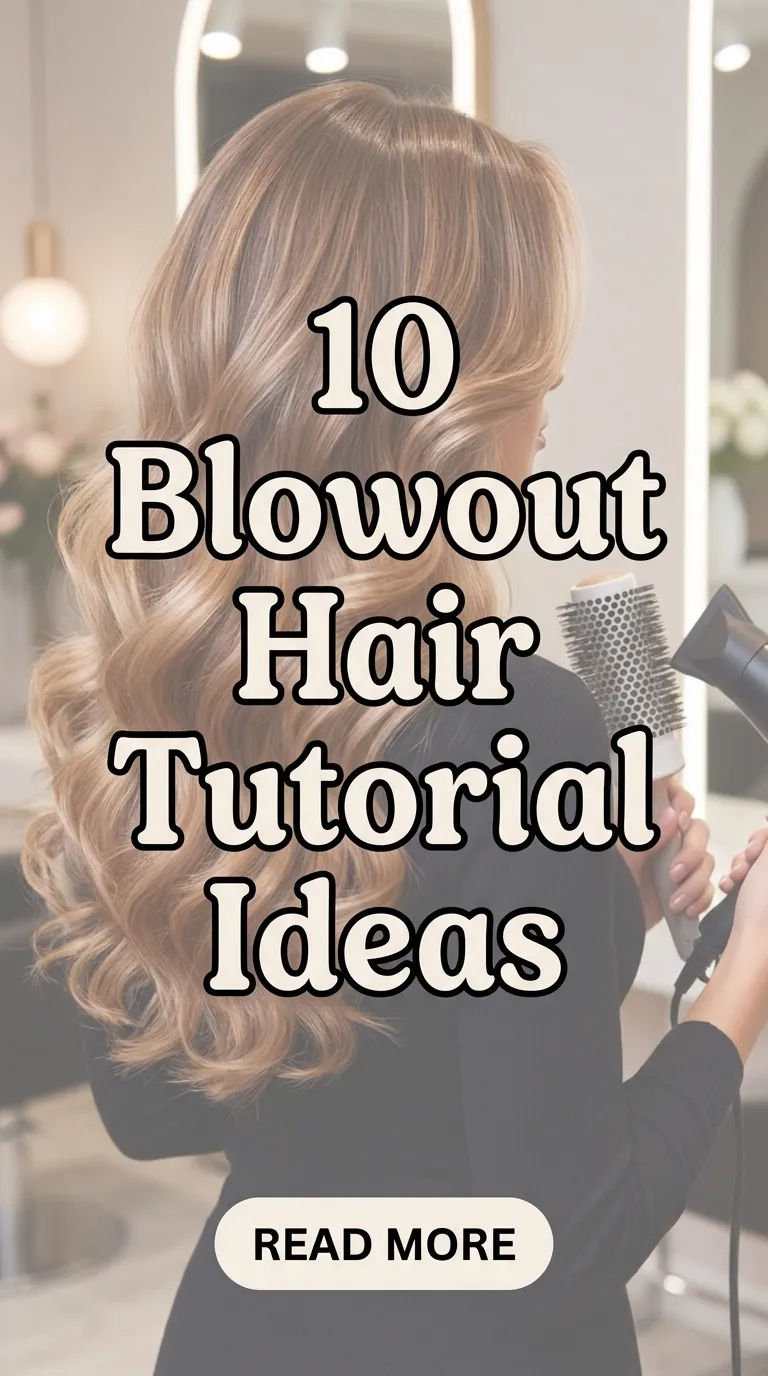
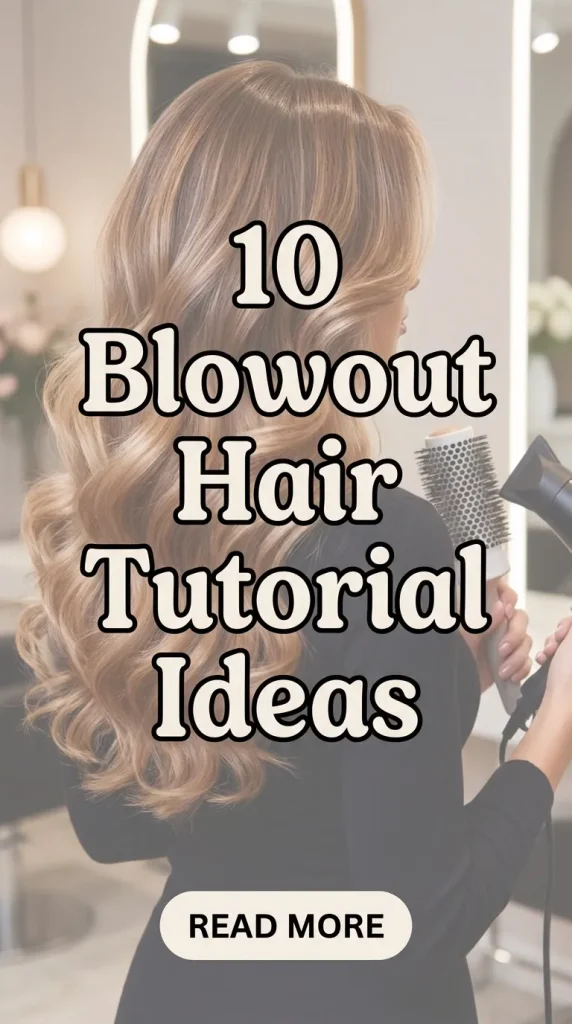
A blowout hairstyle remains one of the most versatile and polished hair styling techniques in modern beauty routines. It refers to the process of drying and styling hair simultaneously using controlled heat and brushing techniques to create smooth volume, soft waves, or sleek straight finishes. On Pinterest, blowout hair tutorial ideas continue to inspire millions of users searching for salon-like results at home. This topic is especially popular because it blends simplicity with transformation, allowing everyday hair to look refined without complex styling skills.
This guide explores 10 detailed blowout hair tutorial ideas designed for different hair types, lengths, and styling goals. Each method focuses on practical execution, beginner friendly steps, and achievable results using common styling tools. Whether the goal is volume at the roots, soft curled ends, or a smooth glossy finish, these ideas provide structured approaches that can be followed at home. Readers will also learn preparation techniques, styling variations, maintenance tips, and creative ways to elevate everyday looks using blow-drying techniques that align with Pinterest ideas and trending styling inspiration.
Why This Idea Is Trending or Useful
Blowout styling has gained consistent popularity in Pinterest ideas because it delivers salon-quality results without requiring professional assistance. In a digital era where DIY beauty routines are widely shared, blowout techniques stand out as both accessible and visually impactful. The appeal lies in the transformation process: ordinary damp hair becomes voluminous, smooth, and shaped with minimal styling products. This makes it an attractive option for individuals seeking creative ideas for home decor-inspired beauty routines, where personal grooming is treated as a form of self-styling expression.
Another reason for its popularity is adaptability. Blowout methods can be adjusted for minimalist style preferences or more voluminous, dramatic finishes. They work across different hair textures, making them inclusive and beginner friendly. The rise of tutorial content has also contributed to its trend status, as users seek step by step guidance for easy projects that do not require advanced skill sets. Additionally, blowout techniques align with budget ideas since they reduce the need for frequent salon visits while still achieving polished results suitable for daily wear, events, or professional settings.
Materials and Preparation
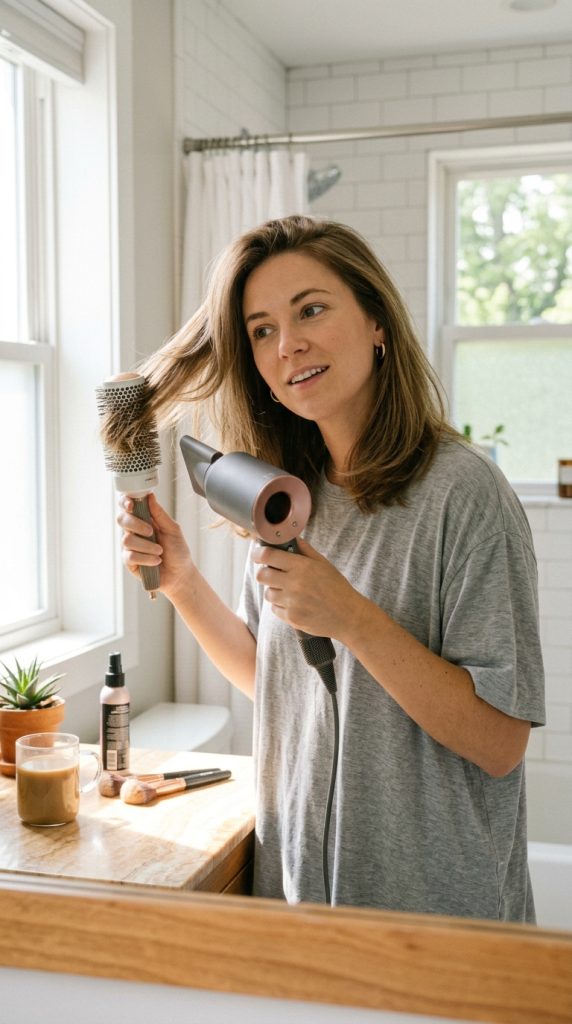
Before starting any blowout hair tutorial, proper preparation is essential for achieving smooth and lasting results. The basic materials include a blow dryer with adjustable heat settings, a round brush in different sizes depending on hair length, sectioning clips, and a wide-tooth comb. A heat-protectant product is also necessary to minimize damage caused by styling tools. Towels made from microfiber material are preferred for initial drying because they reduce frizz and help maintain hair integrity before heat styling begins.
Preparation also involves washing and partially drying the hair until it is slightly damp rather than fully wet. Hair should be detangled carefully to ensure even airflow during styling. Sectioning the hair into manageable parts is a critical planning step, especially for beginners working on DIY tutorial techniques. Organizing tools in advance improves workflow efficiency and reduces styling time. Creating a stable setup with a mirror and adequate lighting ensures better control during the process. This preparation stage forms the foundation for all blowout ideas and directly affects the quality of the final result.
MAIN IDEAS SECTION
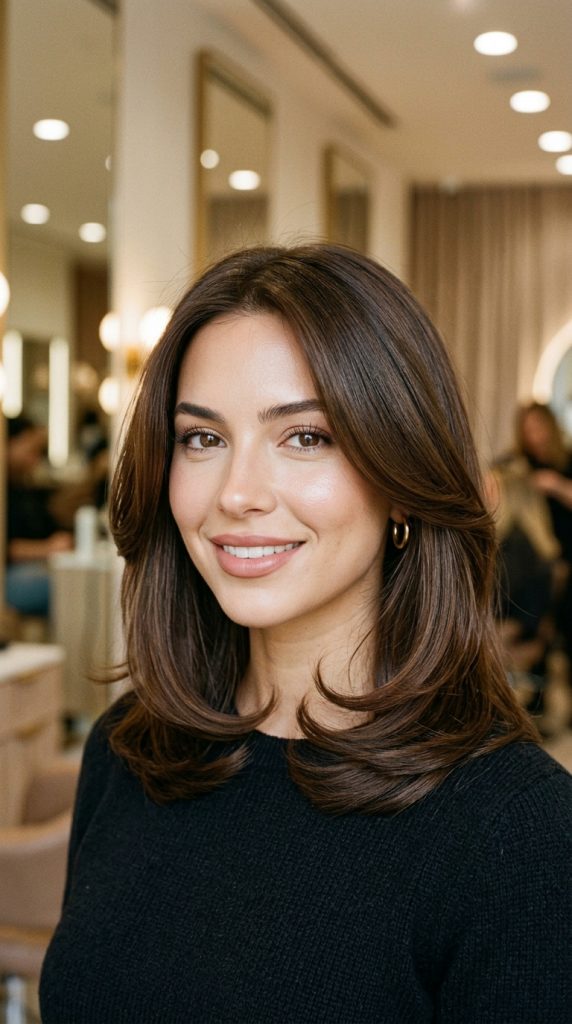
Idea 1: Classic Smooth Salon Blowout
How to Create
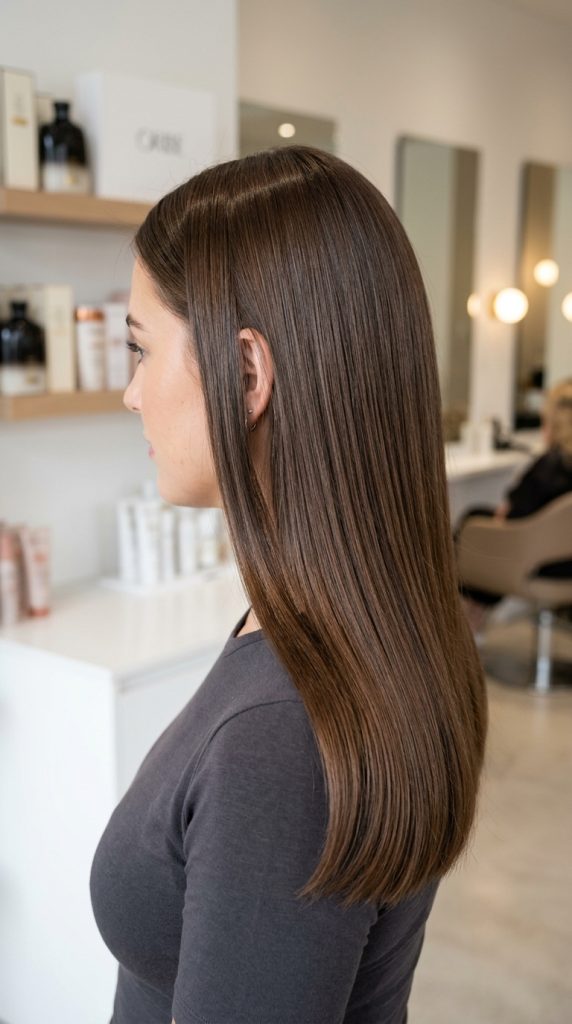
The classic smooth salon blowout focuses on achieving sleek, polished hair with controlled volume and a soft, refined finish. This style is widely used in professional settings because it creates a clean silhouette that enhances natural shine while minimizing frizz. The goal is to produce hair that appears naturally smooth yet structured, making it suitable for both casual and formal looks. It aligns with Pinterest ideas centered around modern design simplicity, where less texture and more control define the aesthetic. This blowout works best for medium to long hair but can be adapted for shorter lengths with careful brushing technique. The emphasis is on directional drying, where airflow follows the hair shaft to create uniform smoothness.
To create this look, start with damp, detangled hair divided into four to six sections using clips. Apply a heat protectant evenly throughout. Using a medium round brush, begin drying each section from the roots to the ends while maintaining tension. Direct the blow dryer nozzle downward to seal the cuticle and reduce frizz. Repeat each section slowly until fully dry, ensuring consistent heat distribution. Finish with a cool air setting to lock in shape. The result is a smooth, polished blowout that reflects beginner friendly tutorial methods while maintaining a professional appearance.
Execution Process
The execution process of a classic blowout requires patience and controlled movement rather than speed. Each section should be dried thoroughly before moving on to the next to ensure uniform texture. The brush should glide from roots to ends without stopping midway, as interruptions can create uneven volume. Maintaining consistent tension is essential for achieving a straight yet voluminous finish. Many DIY users find this method useful because it builds foundational skills for more advanced blowout styles.
After drying all sections, a lightweight serum can be applied to enhance shine and reduce static. Hair should be allowed to cool completely before final adjustments. This helps maintain structure for longer periods. The finished style should appear smooth, balanced, and naturally glossy without visible flyaways. This approach remains one of the most reliable creative ideas for everyday grooming routines and is widely used in minimalist styling approaches.
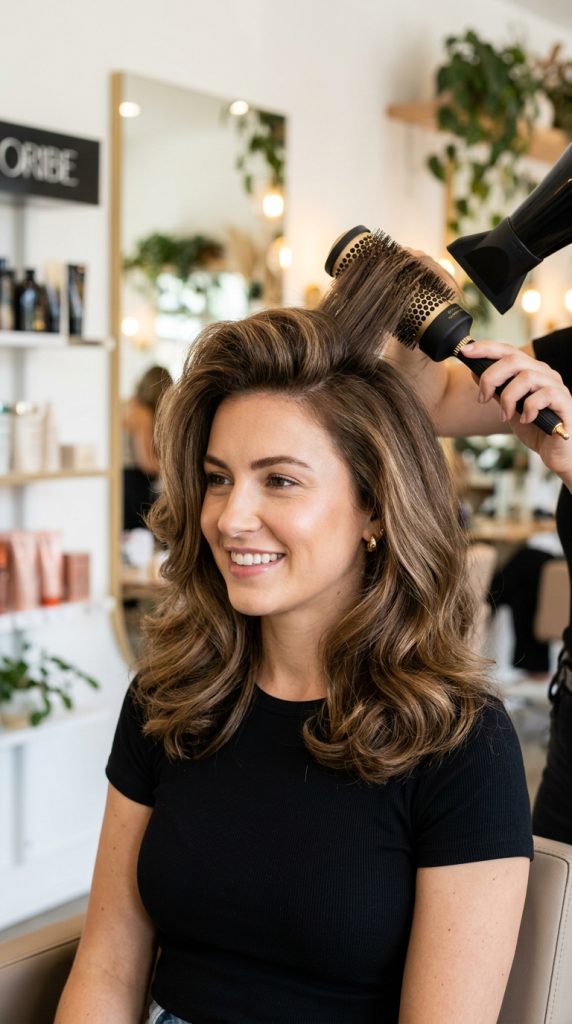
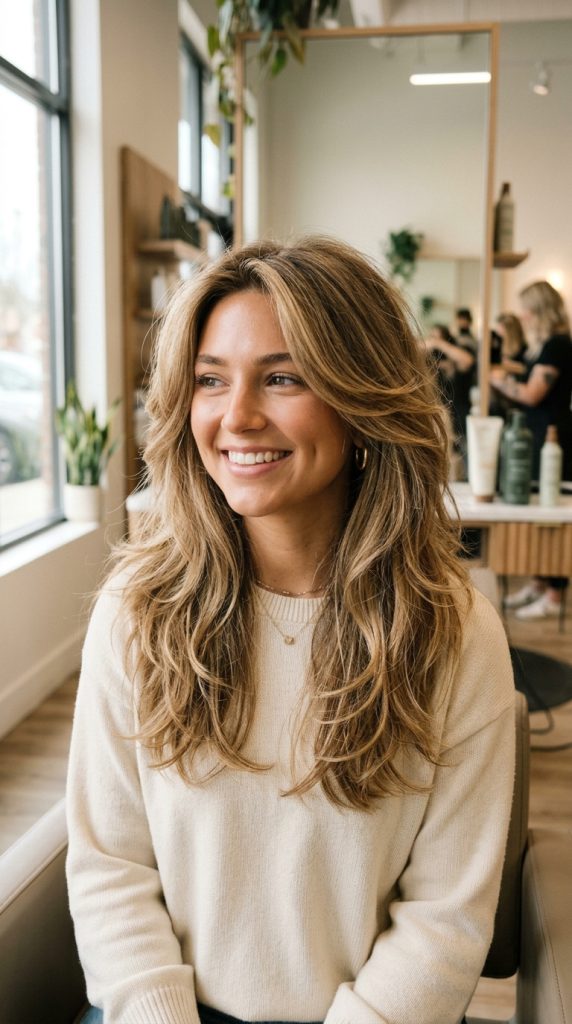
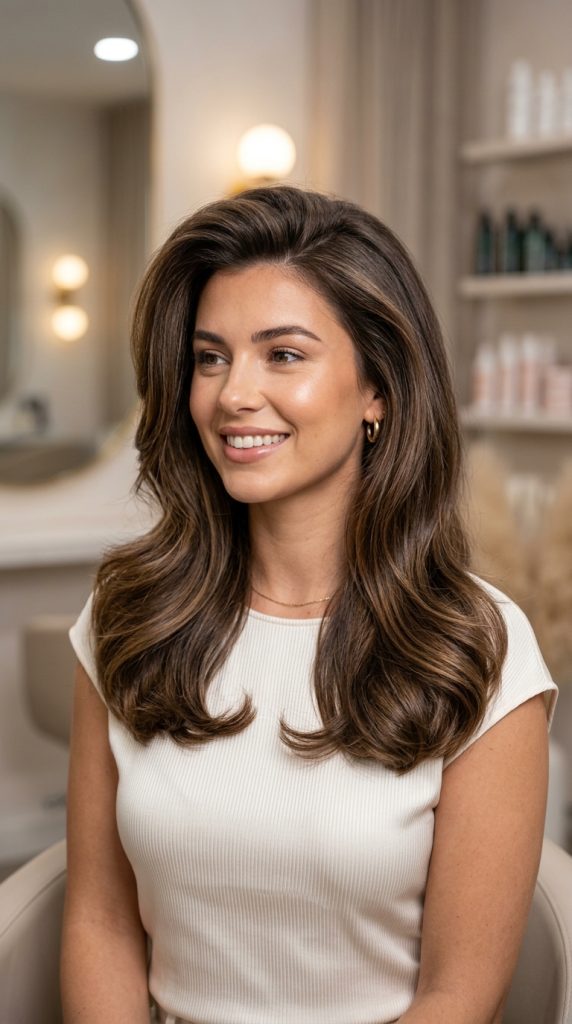
Idea 2: Volumized Root Lift Blowout
How to Create
A volumized root lift blowout focuses on creating height and fullness at the crown while keeping the lengths soft and controlled. This style is ideal for individuals with fine or flat hair seeking added dimension without heavy styling products. It is commonly featured in Pinterest ideas because it enhances facial structure and creates a lifted, youthful appearance. The technique emphasizes root activation through directional heat and brush placement, making it an effective easy project for beginners exploring DIY hair styling.
To create this blowout, start by applying volumizing mousse to damp roots. Section the hair into manageable layers. Using a round brush, lift each section upward from the scalp while directing heat at the root area first. Hold the brush in place for a few seconds before pulling it through the lengths. Repeat this motion for each section, focusing extra attention on the crown area. The goal is to build internal structure rather than surface smoothness alone. Once dry, flip the hair upside down briefly to enhance natural lift.
Step-by-Step Guide
The step-by-step process requires controlled lifting motions during drying. Begin at the crown and work downward to ensure maximum root elevation. Each section should be lifted vertically before being released slowly to set volume. The blow dryer should remain close to the root area for effective shaping but not too close to avoid overheating.
After completing all sections, allow the hair to cool while slightly lifted using clips at the crown. This helps lock in volume for longer duration. Finish with a light flexible spray to maintain movement. The final result is a soft yet structured blowout that aligns with modern design trends in hair styling and supports long-lasting volume without stiffness.
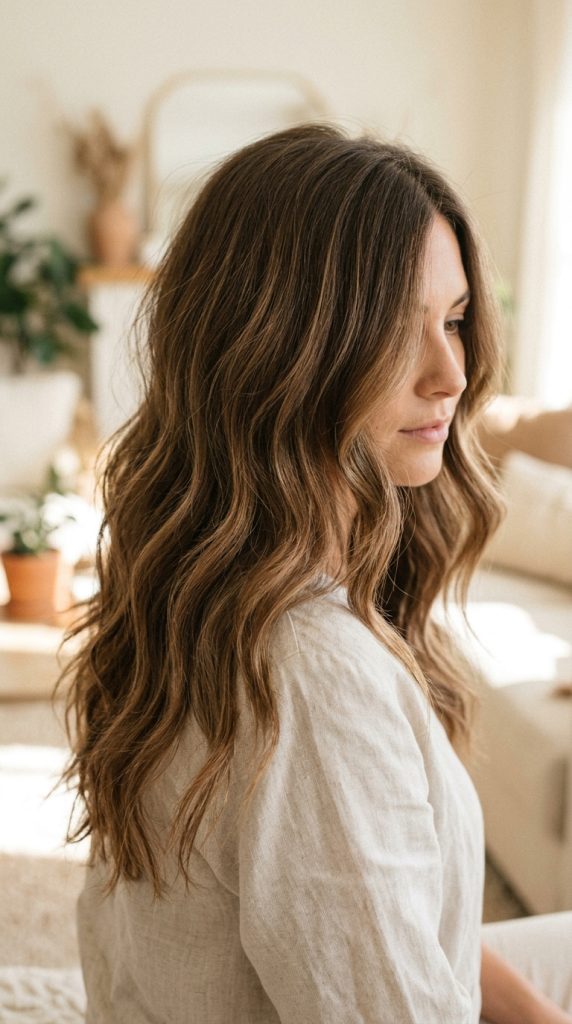
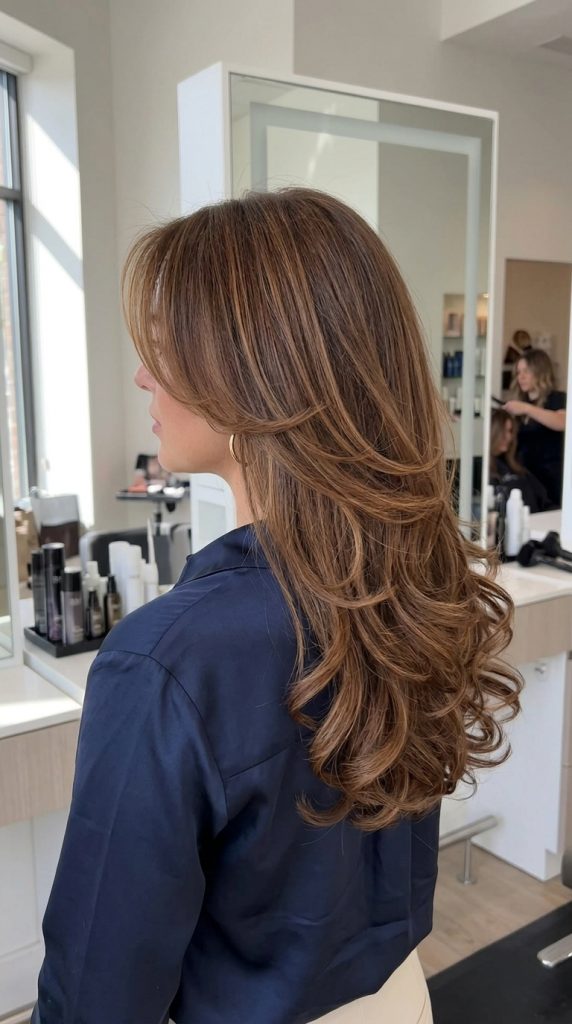
Idea 3: Soft Wave Blowout Finish
How to Create
The soft wave blowout finish combines drying and shaping techniques to produce gentle, flowing waves with natural movement. This style is popular in creative ideas for casual and romantic looks because it adds texture without requiring curling irons. It works well for medium to long hair and fits perfectly into aesthetic Pinterest ideas focused on effortless beauty. The technique uses alternating brush directions to form subtle bends in the hair structure.
Begin with damp hair divided into sections. Apply a lightweight styling cream for texture control. Using a large round brush, wrap each section around the brush while drying, alternating inward and outward directions for each layer. This creates natural wave formation rather than uniform curls. The key is controlled rotation during blow-drying, allowing heat to shape the hair gradually.
Step-by-Step Guide
Each section should be rolled loosely around the brush and held for a few seconds before releasing. Avoid tight tension to maintain softness. After drying, gently separate waves using fingers instead of combs to preserve texture. A cool air pass helps set the shape and reduce frizz.
This method creates a relaxed yet styled finish suitable for everyday wear. It is widely used in beginner friendly tutorial content because it does not require precision curling tools. The result is a natural wave pattern that enhances movement while maintaining a soft, modern appearance.
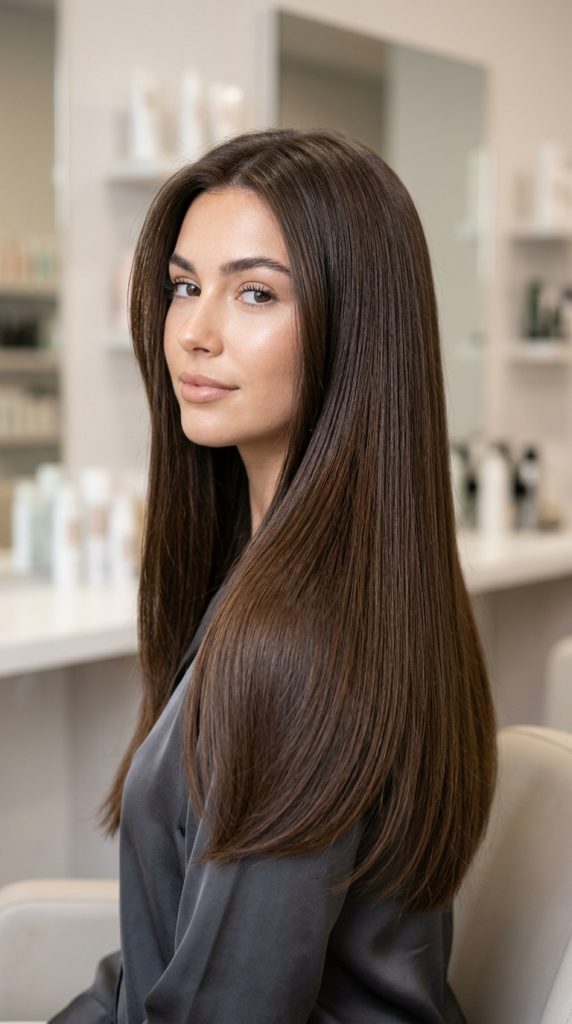
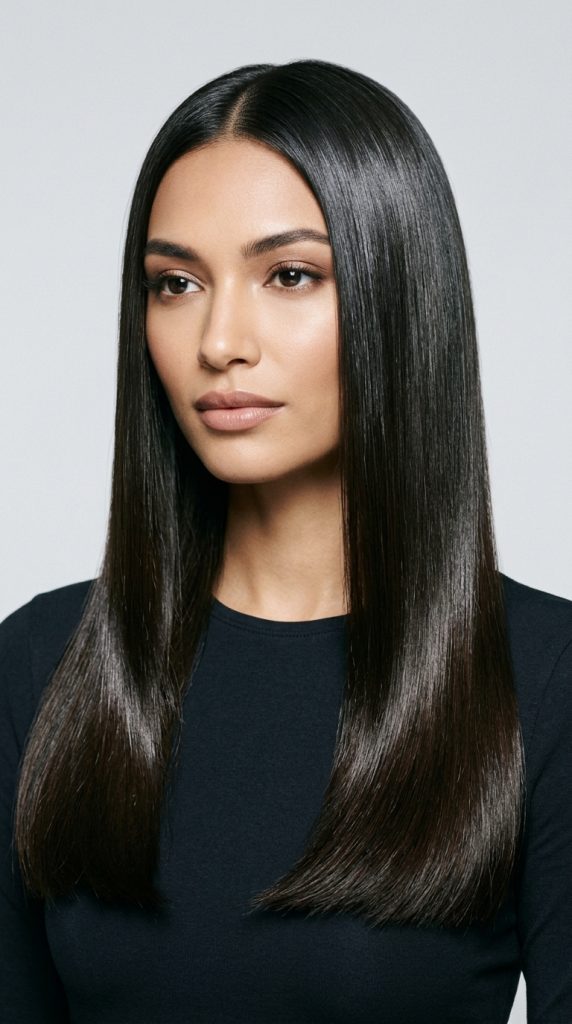
Idea 4: Sleek Straight Gloss Blowout
How to Create
The sleek straight gloss blowout focuses on achieving ultra-smooth hair with reflective shine and minimal texture. It is commonly associated with minimalist style aesthetics and professional grooming routines. This method is ideal for those seeking a polished, controlled look that complements structured outfits and clean design themes. It emphasizes heat direction, brush tension, and finishing techniques to enhance shine.
Start with heat-protected damp hair and divide it into fine sections. Use a flat paddle brush instead of a round brush for maximum straightness. Pull each section downward while applying consistent heat from root to tip. Ensure that airflow follows the hair direction to seal the cuticle and reduce frizz.
Step-by-Step Guide
Work slowly through each section, repeating passes if necessary to ensure full dryness. Once complete, apply a cool blast of air to lock the structure. Finish with a lightweight smoothing product applied sparingly to enhance gloss without weighing hair down.
This technique is effective for creating a sharp, refined appearance suitable for formal environments. It reflects structured DIY tutorial approaches where precision and control define the final result.
Idea 5: Curved Ends Blowout Style
How to Create
The curved ends blowout focuses on shaping hair so the ends naturally turn inward or outward, creating a soft framing effect. This style is widely used in modern Pinterest ideas because it adds subtle elegance without heavy styling. It works well for shoulder-length cuts and layered hair.
Begin with sectioned damp hair and a medium round brush. As you dry each section, rotate the brush slightly at the ends to create curvature. The direction of rotation determines whether the ends flip inward or outward.
Step-by-Step Guide
Maintain steady tension while drying the mid-lengths before focusing on the ends. Hold the brush at the tips for a few seconds to set the curve. Repeat consistently across all sections for uniform shaping.
This blowout is beginner friendly and requires minimal tools, making it ideal for easy projects. The final result is soft movement that frames the face naturally.
Idea 6: Textured Volume Blowout
How to Create
The textured volume blowout blends controlled dryness with light separation for a fuller, more dynamic appearance. It is designed for individuals who prefer a less structured but still styled look. This approach is often featured in creative ideas that balance natural movement with intentional shaping.
Use a volumizing product before drying. Work in medium sections using a round brush while lifting hair away from the scalp. Alternate brush directions slightly to create texture variation.
Step-by-Step Guide
Do not over-smooth each section. Allow slight irregularity to maintain texture. Once dry, use fingers to separate strands gently.
This method produces a modern, effortless finish that aligns with trending ideas in casual styling.
Idea 7: Long Layer Bounce Blowout
How to Create
The long layer bounce blowout enhances layered hair by emphasizing movement between different lengths. It is ideal for adding dimension and softness.
Dry each layer separately using a round brush, focusing on lifting shorter layers upward while guiding longer strands downward.
Step-by-Step Guide
Work systematically through layers to maintain structure. Finish with light movement shaping.
This creates a lively, dynamic appearance suitable for everyday styling.
Idea 8: Frizz Control Blowout Technique
How to Create
This blowout focuses on minimizing frizz through controlled heat and smoothing products.
Dry hair in small sections using consistent downward motion.
Step-by-Step Guide
Seal each section with cool air and avoid excessive brushing after drying.
The result is controlled, smooth hair with reduced flyaways.
Idea 9: Quick Everyday Blowout
How to Create
This method is designed for speed and simplicity, ideal for busy routines.
Use large sections and a fast drying technique.
Step-by-Step Guide
Focus only on visible areas and finish quickly with light smoothing.
It is a practical DIY approach for daily styling.
Idea 10: Volume and Shine Hybrid Blowout
How to Create
This hybrid method balances volume at the roots with shine through the lengths.
Combine lifting techniques with smoothing passes.
Step-by-Step Guide
Alternate between volumizing and smoothing sections for balance.
The final result is polished yet full-bodied hair.
Common Beginner Mistakes and How to Avoid Them
Many beginners apply excessive heat or skip sectioning, which leads to uneven results. Another common mistake is using the wrong brush size for hair length. Not drying hair in controlled sections often causes frizz and reduces volume consistency. Avoid rushing the process, as blowout techniques depend on structured movement rather than speed. Proper preparation and controlled airflow ensure better outcomes in DIY tutorial styling.
Practical Tips for Better Results
Use consistent tension while brushing to improve smoothness. Always direct airflow downward to reduce frizz. Allow hair to cool before final styling adjustments. Choose brush sizes based on hair length for better control. Work in clean sections to maintain structure. These tips enhance results across all blowout hair tutorial ideas and improve overall styling efficiency.
Styling, Presentation, or Organization Ideas
Blowout styles can be enhanced by subtle parting changes such as center or side parts. Hair accessories can be added for variation while maintaining minimalist style aesthetics. Organizing sections during styling improves precision and reduces errors. Soft finishing touches like light serums enhance shine and improve visual presentation for home decor inspired grooming routines.
Budget or Time Planning
Most blowout techniques can be completed within a short timeframe once mastered. Beginners may require more time initially due to sectioning and learning brush control. Using basic tools keeps costs low, making it a budget friendly beauty routine. Planning preparation steps in advance significantly reduces styling time and improves efficiency for easy projects.
Creative Expansion and Advanced Inspiration
Advanced variations include combining blowout techniques with subtle layering or directional styling changes. Experimenting with different brush sizes can create new textures. Layered volume and hybrid smoothing methods allow for personalized results. These creative expansions encourage exploration beyond basic tutorial steps and support evolving Pinterest ideas focused on individuality and modern design expression.
Leave a Reply