
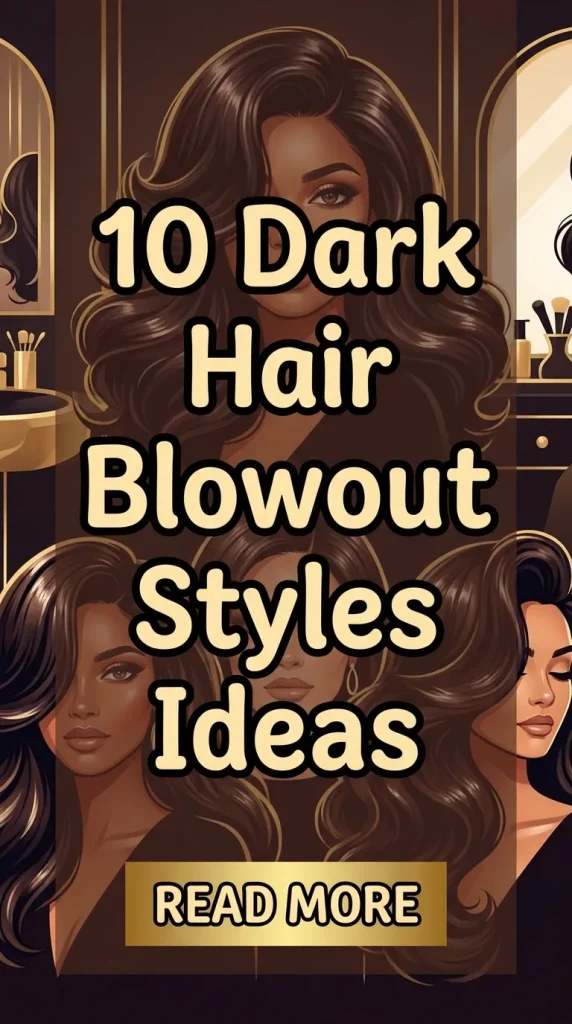
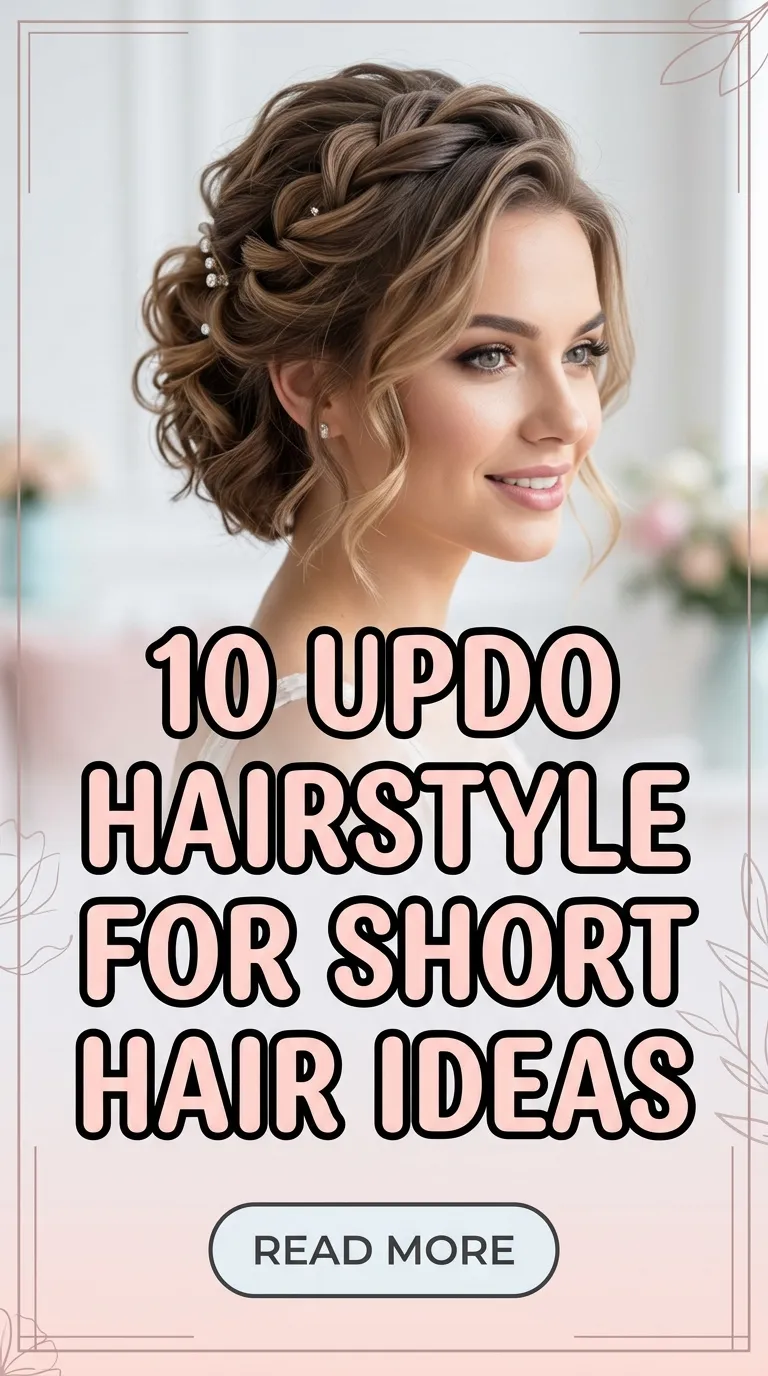
Dark hair blowout styles have become a central focus in modern Pinterest ideas due to their ability to combine elegance, volume, and structure in a highly versatile way. A blowout is a styling method that uses controlled heat and airflow to shape the hair into a smooth, polished, or voluminous finish. When applied to dark hair, the result often highlights depth, shine, and dimension, making even simple styles appear refined and intentional. This article presents ten practical and beginner friendly blowout styles that can be recreated at home using accessible materials and clear step by step methods.
Readers will learn how to approach each style with proper preparation, how to manage tools effectively, and how to maintain consistency in results. The focus remains on DIY execution, making each idea suitable for those exploring home decor-level personal styling routines. These styles are useful because they offer both everyday wear solutions and occasion-ready looks without requiring professional salon access. Each section provides detailed guidance to ensure that the process remains structured, efficient, and visually effective, aligning with current aesthetic and minimalist style trends.
Why This Idea Is Trending or Useful
Blowout styles for dark hair are widely featured in trending ideas because they align with modern preferences for clean, polished, and manageable looks. The visual appeal of a smooth or voluminous finish enhances natural hair color depth, making it particularly suitable for photography and social media presentation. This contributes to its strong presence in Pinterest inspiration boards focused on beauty, organization, and personal styling routines.
The practical value of blowouts lies in their adaptability. A single technique can be adjusted to create multiple styles, from sleek and straight to soft waves or dramatic volume. This flexibility makes it an easy project for beginners while still offering room for advanced creative ideas. Additionally, blowouts support a structured routine, encouraging planning and consistent results. The DIY appeal is significant because the required materials are accessible, and the techniques can be learned gradually. These styles also fit within budget ideas, reducing reliance on professional services while maintaining a high-quality aesthetic suitable for modern design preferences.
Materials and Preparation
Preparing for a dark hair blowout requires a combination of basic tools and thoughtful planning. Essential materials include a hair dryer with a nozzle attachment, a round brush, sectioning clips, a heat protectant product, and a lightweight styling cream or serum. A comb for detangling and a mirror setup that allows visibility from multiple angles are also important. These materials support control and precision, which are necessary for achieving consistent results.
Preparation begins with clean, slightly damp hair. Hair should be thoroughly detangled to prevent uneven tension during styling. Applying heat protectant evenly ensures that the hair remains protected from damage while maintaining shine. Sectioning the hair into manageable parts allows for better control and efficiency during the blowout process. Planning the style in advance helps determine brush size, direction of airflow, and desired volume level. This preparation phase is essential for maintaining organization and ensuring that each step of the tutorial flows smoothly without interruption, especially for beginner friendly execution.
Idea 1: Sleek Straight Blowout
How to Create
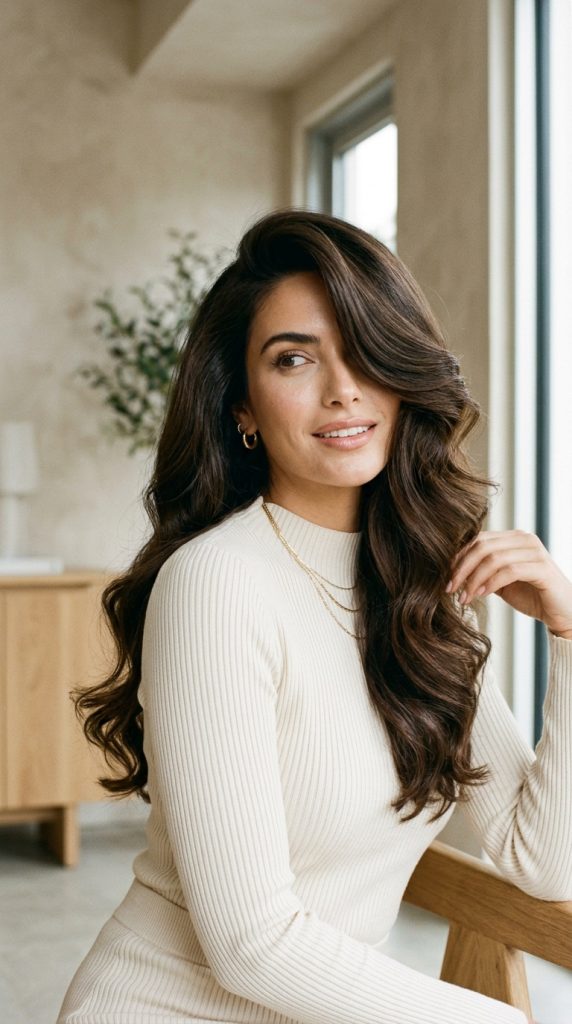
This style focuses on achieving a smooth, straight finish that enhances the natural shine of dark hair. The concept relies on controlled airflow and consistent tension to eliminate frizz and create a polished surface. The sleek straight blowout works well within minimalist style preferences because it emphasizes simplicity and clean lines. It is particularly effective for professional settings or formal environments where a neat appearance is required. The aesthetic result is defined by uniformity and subtle movement rather than volume.
To create this style, begin by dividing the hair into small sections. Using a round brush, pull each section downward while directing the hair dryer nozzle along the shaft. Maintain consistent tension to smooth the cuticle. Repeat this process systematically across all sections. Finish by applying a small amount of serum to enhance shine and reduce flyaways. This step by step method ensures even results and helps maintain structure throughout the day.

Idea 2: Soft Volume Blowout
How to Create
The soft volume blowout introduces gentle lift while maintaining a natural appearance. This style adds dimension without creating excessive fullness, making it suitable for everyday wear. The focus is on creating movement at the roots and mid-lengths while keeping the ends controlled. This approach aligns with modern design trends that favor balanced and wearable looks.
To achieve this, section the hair and use a medium-sized round brush. Lift each section upward at the roots while directing warm air from the dryer. Gradually roll the brush through the mid-lengths to create soft curvature. Allow each section to cool before releasing it to maintain the shape. This process builds subtle volume without compromising smoothness, resulting in a controlled yet dynamic finish.

Idea 3: Bouncy Curled Blowout
How to Create
This style focuses on creating defined, bouncy curls using a blow dryer and round brush. It enhances the natural thickness of dark hair and adds a lively, structured appearance. The curls are uniform and polished, contributing to a cohesive aesthetic. This look is often used for events or occasions requiring a more styled presentation.
Start by dividing the hair into smaller sections. Wrap each section around a round brush and apply heat evenly while rotating the brush. Hold the curl in place briefly before releasing it to set the shape. Repeat throughout the hair, ensuring consistency in curl size. Finish with a light hold product to maintain structure without stiffness.

Idea 4: Side-Parted Blowout
How to Create
The side-parted blowout emphasizes asymmetry and directional flow. By shifting the parting, the style creates visual interest and volume on one side. This approach works well with dark hair because it enhances contrast and depth. It is suitable for both casual and formal settings.
To create this look, establish a deep side part before drying. Focus on lifting the heavier side at the roots using a round brush. Direct airflow toward the ends while maintaining smoothness. The lighter side should remain flatter to balance the overall shape. This method creates a structured yet natural appearance.
Idea 5: Layered Blowout Finish
How to Create
The layered blowout highlights different lengths within the hair, creating movement and separation. This style works best for haircuts with defined layers, as it enhances their visibility. The result is a textured yet polished look.
Section the hair according to its layers. Use a smaller brush for shorter sections and a larger brush for longer ones. Blow dry each layer separately, directing airflow to define the ends. This technique ensures that each layer maintains its shape and contributes to the overall structure.

Idea 6: Curved-In Ends Blowout
How to Create
This style focuses on inward-curving ends that frame the face. It provides a soft and controlled finish, making it suitable for structured looks. The inward curve adds subtle detail without requiring complex techniques.
Blow dry the hair in sections, using a round brush to curl the ends inward. Maintain consistent direction for all sections to ensure uniformity. This method creates a cohesive and polished finish.

Idea 7: Flipped-Out Ends Blowout
How to Create
The flipped-out ends blowout creates outward movement, offering a more dynamic appearance. This style contrasts with inward curves and adds a playful element to the look.
Use a round brush to direct the ends outward while applying heat. Maintain even tension to keep the shape consistent. This approach results in a balanced yet expressive finish.

Idea 8: High Volume Crown Blowout
How to Create
This style emphasizes volume at the crown while keeping the rest of the hair smooth. It creates height and structure, making it suitable for formal occasions.
Focus on lifting sections at the crown using a round brush and upward airflow. Keep the mid-lengths and ends controlled for balance. This method creates a defined silhouette.

Idea 9: Smooth Wave Blowout
How to Create
The smooth wave blowout combines straight sections with gentle waves. It offers a balanced aesthetic that blends structure and movement.
Use a round brush to create slight bends in the hair while blow drying. Alternate direction for a natural wave pattern. This technique results in soft, flowing movement.

Idea 10: Classic Full Blowout
How to Create
The classic full blowout combines volume, smoothness, and shape into one cohesive style. It is versatile and suitable for various occasions.
Section the hair and use a round brush to build volume while smoothing each section. Balance lift and control to achieve a uniform finish. This method ensures a polished and complete look.

Common Beginner Mistakes and How to Avoid Them
Many beginners apply excessive heat without proper sectioning, leading to uneven results and potential damage. Skipping heat protectant is another frequent issue, reducing shine and increasing dryness. To avoid these problems, always divide the hair into manageable sections and maintain consistent airflow direction. Using the correct brush size also improves control and ensures better shaping.
Practical Tips for Better Results
Consistent tension during brushing improves smoothness and reduces frizz. Allowing each section to cool before releasing it helps maintain shape. Working in a structured sequence ensures even results. Using moderate heat instead of high settings preserves hair quality while still achieving the desired style.
Styling, Presentation, or Organization Ideas
Organizing tools before starting improves efficiency and reduces interruptions. Positioning mirrors strategically allows better visibility. Styling can be enhanced by maintaining symmetry or intentionally creating asymmetry for visual interest. Clean parting lines contribute to a polished appearance.
Budget or Time Planning
Blowout styles can be completed within a structured timeframe by preparing materials in advance. Investing in basic tools reduces long-term costs. Working in sections saves time by preventing rework. Planning each step ensures a smooth and efficient process.
Creative Expansion and Advanced Inspiration
Advanced variations can include combining multiple blowout techniques within one style. Experimenting with parting directions or brush sizes introduces new effects. Incorporating braiding or pinning elements can expand the creative project further. These adaptations allow continuous exploration while maintaining the foundational blowout method.
Leave a Reply