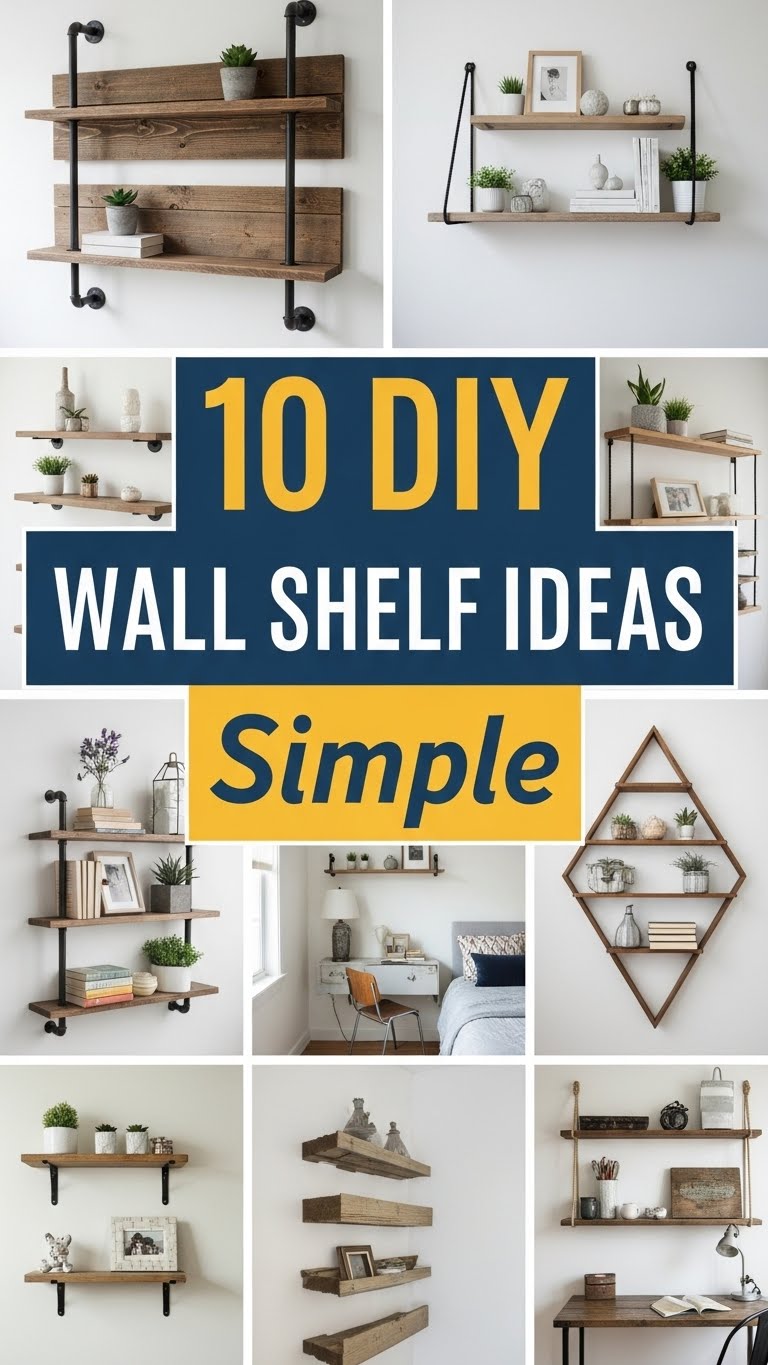
Wall shelves are one of the most practical and stylish additions you can bring into any room. They add storage, improve organization, and enhance the decor without requiring significant cost or professional skills. Crafting your own shelves allows you to tailor the design to your personal style, space limitations, and functional needs. Whether you prefer rustic wood, modern minimalism, recycled materials, or budget friendly options, creating your own shelf is a fulfilling project that brings both creativity and practicality together.
This detailed blog post presents ten simple DIY wall shelf ideas. Each idea includes preparation steps, materials needed, practical tips, and clear explanations. Every idea description is written in around two hundred words to ensure clarity and depth. By the end of this guide, you will be well prepared to create beautiful, sturdy, and stylish wall shelves that complement your interior and meet your storage needs.

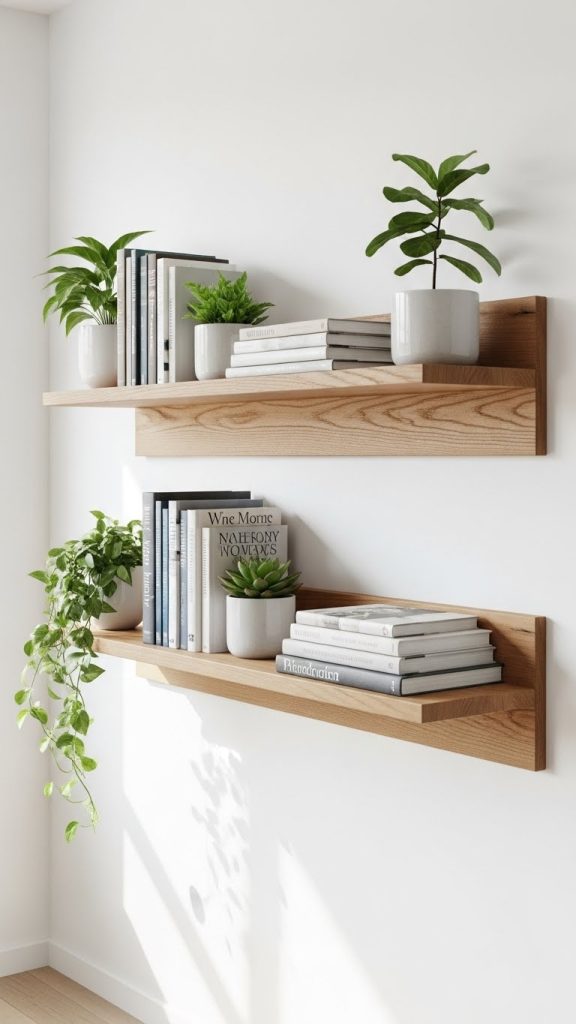
1 Floating Wooden Shelf
Floating wooden shelves are one of the most timeless and adaptable shelf designs you can create. They work well in bedrooms, living rooms, bathrooms, kitchens, and even hallways. The main appeal of floating shelves is their clean, modern look since the bracket or support structure remains hidden inside the wall or behind the wood. To begin, you will need wooden boards in your preferred thickness, concealed brackets or metal shelf supports, screws, anchors, sandpaper, and a drill. Choose a high quality wood board that suits your decor theme. Light pine boards give a soft natural look, while darker woods offer a more elegant tone.
Preparing the wood involves sanding all edges to smooth out roughness and applying a finish such as clear varnish, matte sealant, or wood stain. Take accurate measurements of the wall where the shelf will be installed. Use a level tool to align the brackets perfectly, ensuring that your shelf stays even and sturdy. Install the concealed brackets first, making sure they are tightly secured, especially if your shelf will hold heavy items. After fixing the brackets, slide the wooden board onto them. Once complete, your floating wooden shelf will add a clean and sophisticated look to your space while offering practical storage.
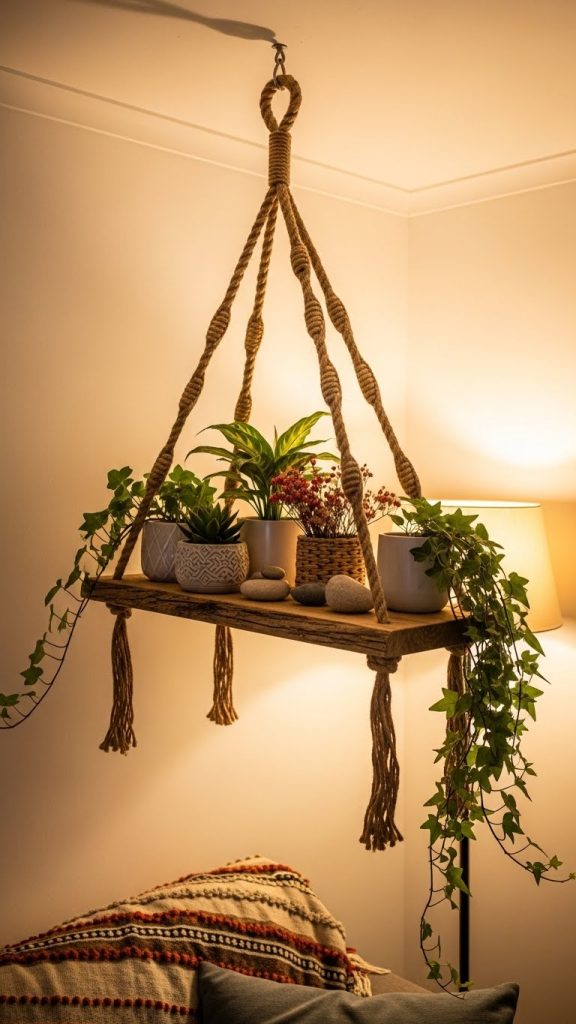
2 Rope Hanging Shelf
A rope hanging shelf brings a relaxed, natural, and slightly rustic charm to your home. It works especially well in bohemian or casual interior styles. To create this shelf, you will need a wooden plank, thick cotton or jute rope, a drill, scissors, ceiling or wall hooks, and sandpaper. Begin by smoothing the wooden board and deciding how many tiers you want. Most rope shelves use one or two boards, but you can create a multi level design if desired. Drill holes in each corner of the wood plank, ensuring that the size of the holes matches the thickness of your rope.
Cut equal lengths of rope, as symmetry is essential for a balanced shelf. Thread the rope through the holes and tie strong knots beneath each plank to secure them. If you are creating multiple levels, repeat the process for each board. Attach sturdy hooks into the wall or ceiling where you want to hang the shelf. Make sure the hooks are firmly anchored to prevent any accidents. Once the structure is in place, adjust the rope lengths to ensure the shelf hangs evenly. This simple rope shelf can hold plants, lightweight decor, or small books, bringing both charm and functionality to your room.
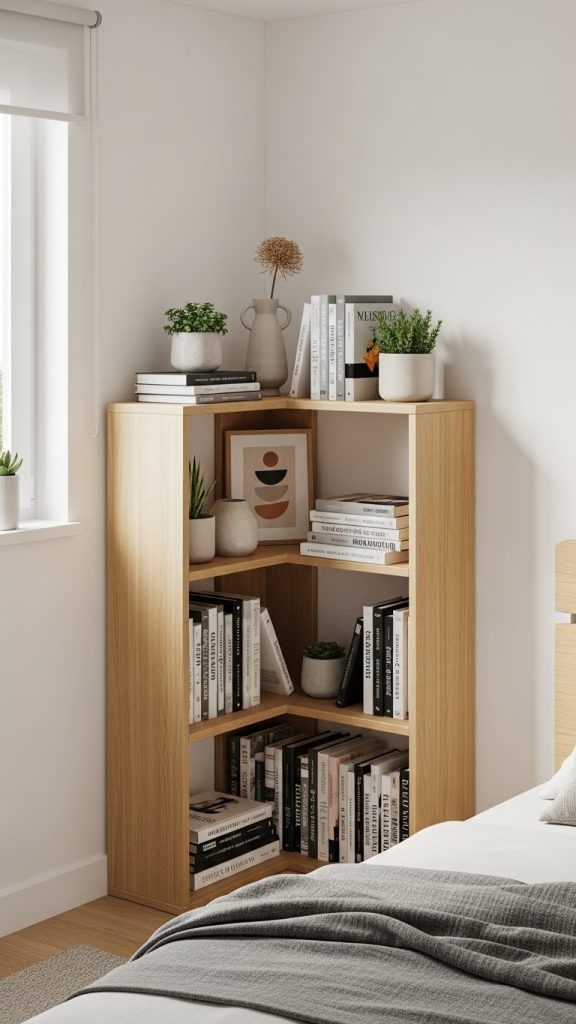
3 L Shaped Corner Shelf
L shaped corner shelves are excellent for maximizing unused corner space in small rooms. They offer an attractive and practical way to display decorations or store small items without occupying large sections of the wall. To create this shelf, you will need two wooden planks of equal thickness, wood glue, screws, L brackets, sandpaper, and paint or stain. Begin by cutting the wood pieces so that they form a right angle when joined together. Use wood glue along the edges that meet, press them firmly, and allow the glue to dry. Reinforce the joint with screws for added strength.
After assembling the L shape, sand the entire surface to smooth rough edges. Apply your desired finish, whether you prefer a natural wood look or a painted design that blends into your wall. Install metal L brackets on the underside of the shelf to provide strong support. It is important to mount the brackets into wall studs so that the shelf remains stable, especially if you plan to store heavier items. Once attached securely, slide the shelf into the corner space and tighten all screws. This shelf design is versatile and works well in kitchens, bedrooms, offices, or living rooms, making it a practical addition to any home.
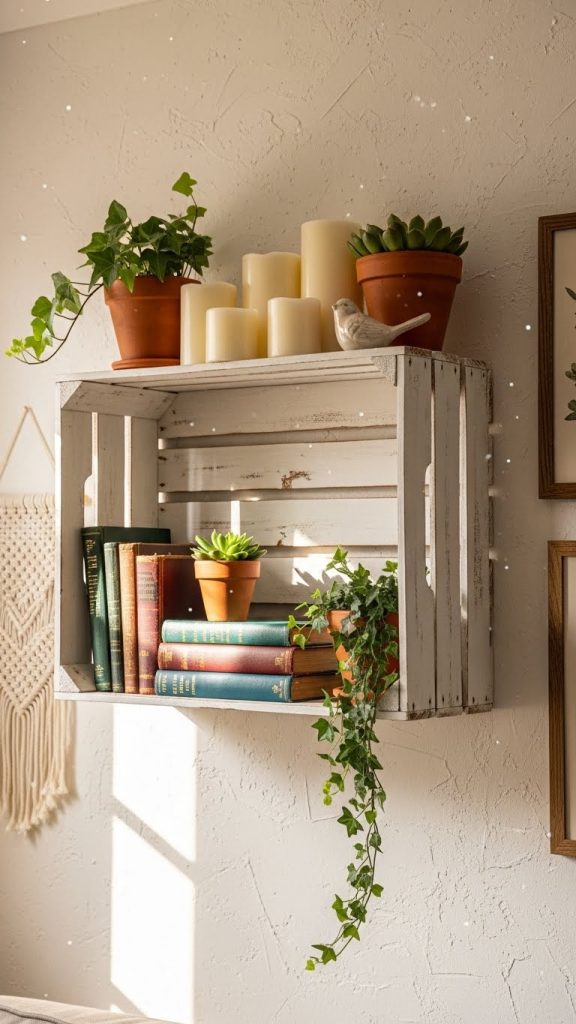
4 Crate Wall Shelf
Crate wall shelves offer a charming, rustic, and farmhouse inspired look. They are perfect for adding warm character to your space while providing functional storage. To make crate shelves, you can purchase wooden crates from craft stores or repurpose old fruit crates. Begin by inspecting each crate to ensure it is sturdy and free of cracks. Sand the surfaces to remove splinters and achieve a smoother texture. You can stain the crates for a richer color or paint them for a more modern look.
Mounting crate shelves on the wall is simple. You will need screws, anchors, a level tool, and L brackets if additional support is needed. Position the crate against the wall and use a pencil to mark where you will install the screws. Make sure the crate sits evenly using the level tool. Drill screws through the back of the crate directly into the wall. For larger crates or heavy loads, mount an L bracket beneath the crate for extra stability. Crate shelves are ideal for storing books, plants, decor, or kitchen items. Their deep design allows you to showcase larger objects compared to flat shelves. With a small budget and minimal tools, crate wall shelves offer a creative and useful solution for home organization.
5 Minimalist Metal Bracket Shelf
Minimalist metal bracket shelves offer both practicality and style. This design combines a simple wooden board with sleek metal brackets, creating a sturdy and visually appealing shelf. To start, gather a wooden plank, two metal brackets, screws, anchors, sandpaper, and your choice of finish. Choose brackets that match your room style, such as matte black for modern interiors or silver for a clean industrial aesthetic. Begin by sanding the wooden plank to achieve smoothness and applying your preferred finish. Allow it to dry completely before installation.
Next, determine the position of the shelf on your wall. Use a level tool to ensure that both brackets are aligned perfectly. Mark the holes where the screws will be placed. Install the first bracket, ensuring it is anchored securely. Repeat the same process on the other side. After both brackets are in place, position the wooden board on top and secure it with screws. This design is highly stable due to the strong metal support. You can create multiple rows of these shelves for a clean organized look. They work well in offices, bedrooms, living rooms, and kitchens, making them a versatile option for simple yet stylish interior shelving.

6 Pegboard Shelf System
A pegboard shelf system is one of the most flexible and customizable shelving options you can create. It allows you to arrange shelves in various positions based on your storage needs. To make this system, you will need a wooden pegboard sheet, wooden shelf pieces, wooden dowels, screws, and paint if you prefer a decorative finish. Begin by mounting the pegboard onto the wall using screws and anchors. Ensure that it is flush against the wall and positioned at a comfortable height.
Next, measure and prepare the dowels that will serve as shelf supports. The dowels should fit snugly into the holes of the pegboard. Cut them to equal lengths and sand them for smoothness. Insert dowels into the pegboard where you want your shelf to rest. Cut wooden shelf pieces in sizes that match your desired layout. Sand and finish the wood as needed, then place the shelves on top of the dowels. The main advantage of this system is that you can rearrange the shelves whenever you like without reinstalling anything. This makes pegboard shelves ideal for craft rooms, offices, kitchens, or kids rooms. They offer a modern, organized, and highly adaptable solution.

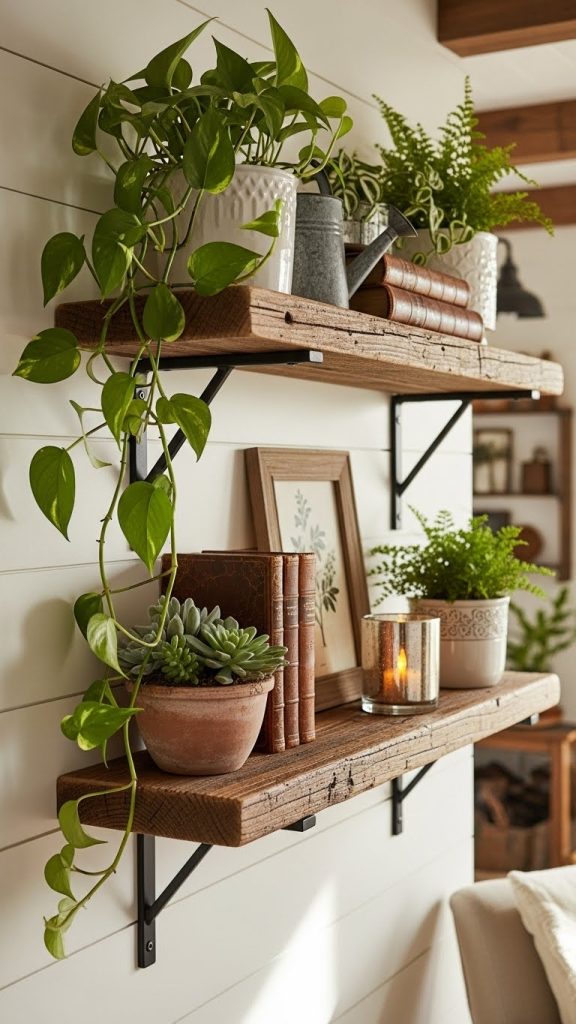
7 Rustic Reclaimed Wood Shelf
Reclaimed wood shelves provide a unique rustic charm that cannot be replicated with factory processed materials. These shelves are perfect for farmhouse, cottage, or rustic themed interiors. To create this shelf, find reclaimed wood from old furniture, pallets, or construction leftovers. Inspect the wood for nails, cracks, or damage. Clean the surface thoroughly and sand it to remove splinters while keeping the natural texture intact. You may apply a clear protective finish to preserve the aged look.
For installation, choose strong metal supports such as L brackets or industrial pipe brackets. Measure the wall space and mark the position where the shelf will be installed. Place the brackets and ensure they align evenly before drilling them into the wall. Attach the reclaimed wood to the brackets using screws. Because reclaimed wood is heavier and less uniform than new lumber, strong mounting is essential. These shelves can hold books, plants, or decorative items, adding warmth and character to any room. The natural imperfections in the wood make each shelf completely unique, turning your project into both a functional piece and a work of art.
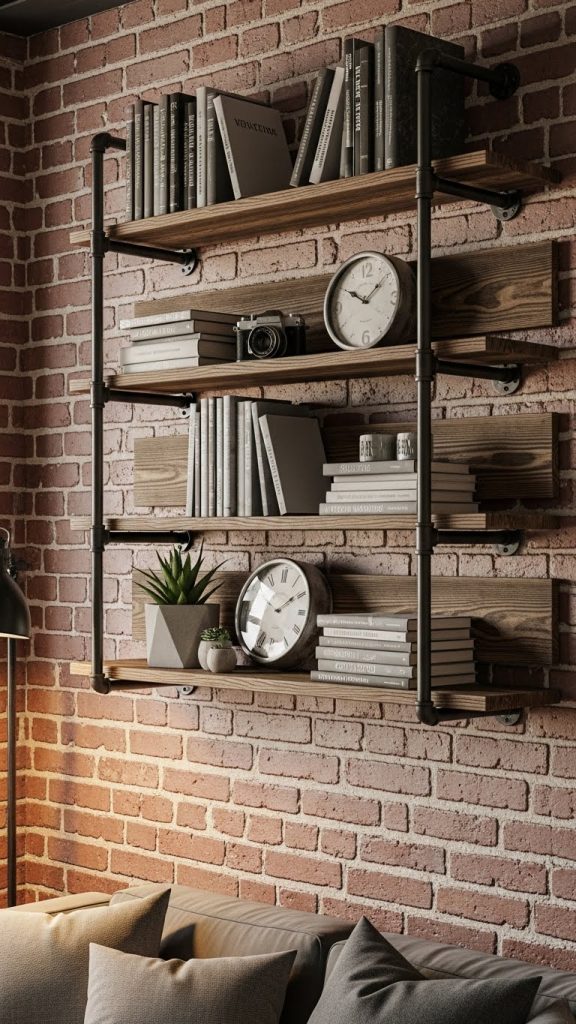
8 Pipe and Wood Industrial Shelf
Industrial pipe shelves combine wooden planks with metal pipes, creating a sturdy and visually striking design. To build this shelf, you will need metal pipes, pipe flanges, wooden boards, screws, and wall anchors. Begin by cutting and sanding the wooden boards to the desired length. Apply your preferred finish, whether natural wood or darker stain for a more industrial aesthetic.
Next, assemble the pipe structure. Attach metal pipes to the wall using pipe flanges. Ensure the flanges are level and anchored securely. Once both sides are installed, place the wooden board on top of the pipes. Some designs include multiple shelves stacked vertically using longer pipe sections. Before tightening everything, ensure the board sits evenly and adjust the pipes as needed. Industrial shelves are particularly durable and can hold heavier items such as books, kitchenware, or decorative objects. They work well in loft style interiors, offices, kitchens, and living rooms. The combination of metal and wood creates a strong visual element that stands out while offering practical storage.
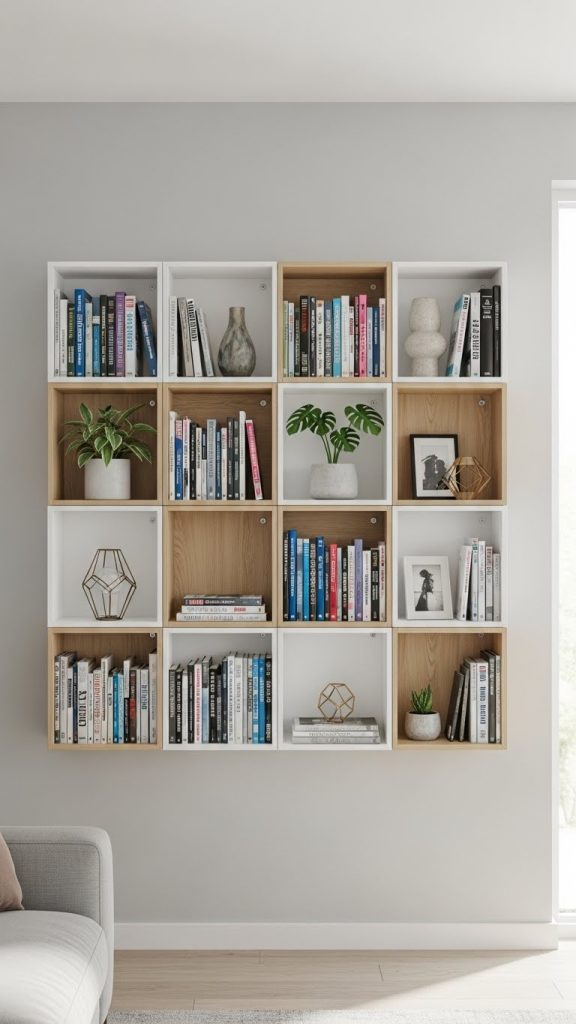
9 Box Cube Wall Shelf
Box cube shelves are stylish, modern, and functional. They can be arranged individually or in sets to create custom wall displays. To make cube shelves, you will need wooden boards or pre cut panels, wood glue, screws, a square measuring tool, sandpaper, and paint or stain. Start by cutting four equal pieces for each cube. Use wood glue to attach the edges together and reinforce them with screws. A square tool is essential to maintain perfect right angles during assembly.
After constructing the cubes, sand all edges and apply paint or stain. You can choose a single color for a uniform look or mix different colors for a playful style. Mounting cube shelves requires strong support, especially if they are large. Use screws through the back panel into wall studs or attach metal brackets underneath for added security. Cube shelves offer numerous display options. You can use them to store books, display collectibles, or showcase plants. They also work well in kids rooms, hallways, or offices. Their geometric design makes them visually appealing while remaining simple to create.
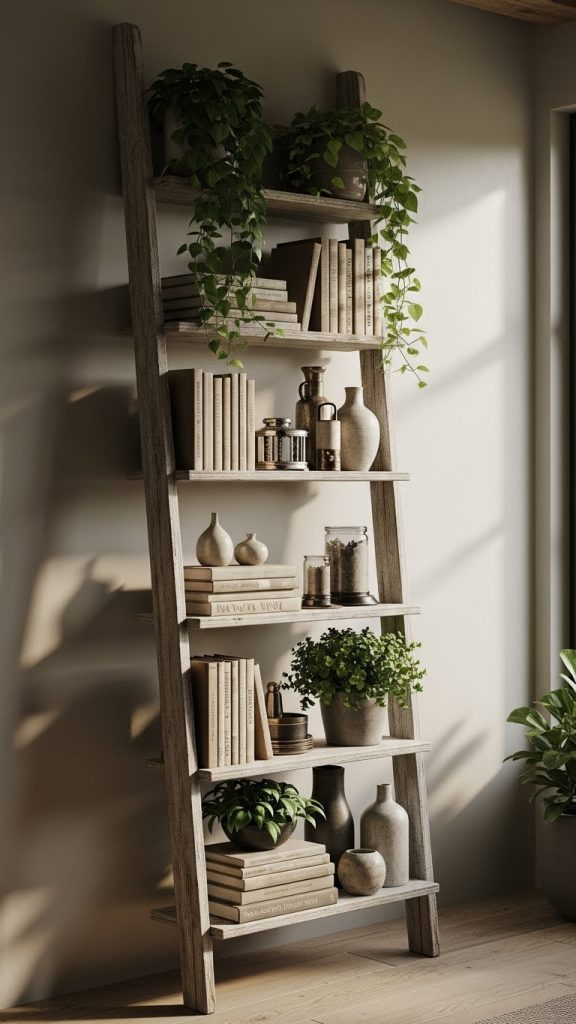
10 Ladder Style Wall Shelf
Ladder style wall shelves mimic the appearance of a leaning ladder but are securely mounted to the wall for stability. To create this shelf, you will need two long wooden boards for the sides and multiple shorter boards for the steps or shelves. Begin by measuring and cutting all pieces to size. Sand the wood thoroughly to avoid rough edges. Assemble the ladder shape by attaching the horizontal boards between the two vertical ones, spacing them evenly. Use screws and wood glue to reinforce the joints.
Once the ladder frame is complete, apply your chosen finish. Mount the ladder shelf onto the wall using strong brackets at the top and bottom. It is important to anchor it firmly since the structure will hold multiple shelves. This design offers a touch of rustic modern style and works well for display purposes. You can place plants, framed photos, decorative baskets, or lightweight items on each tier. Ladder style shelves give height and structure to a room, making them an excellent decor piece. Their unique appearance allows them to function both as a storage solution and a statement feature in your interior.


Leave a Reply