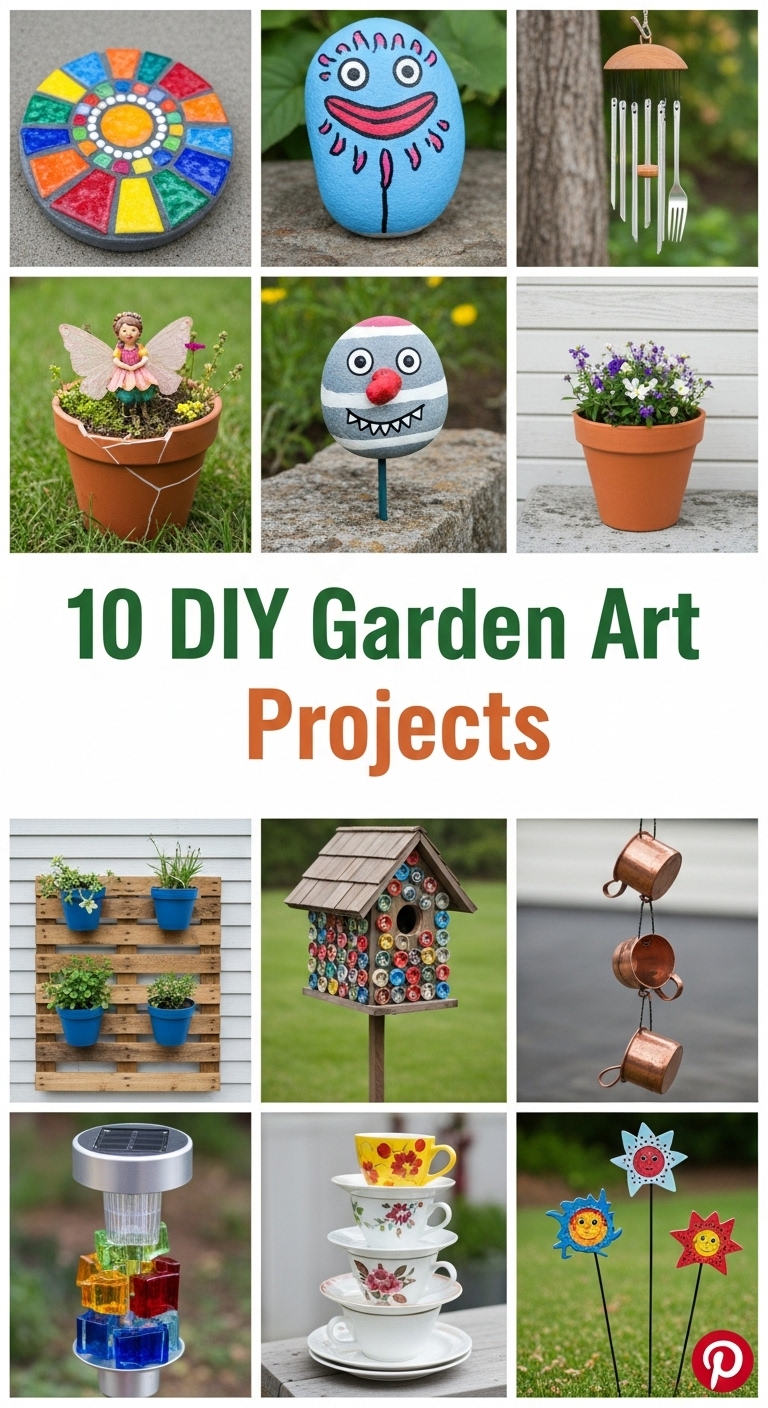
Creating art for your garden is one of the most rewarding ways to express creativity while enhancing your outdoor space. DIY garden art brings personality, color, and charm to any garden, whether large or small. From recycled materials to natural elements, every project can be tailored to your taste and budget. This detailed guide explores ten inspiring DIY garden art projects, each explained with preparation, materials, and step-by-step insights to help you transform your garden into an outdoor gallery.

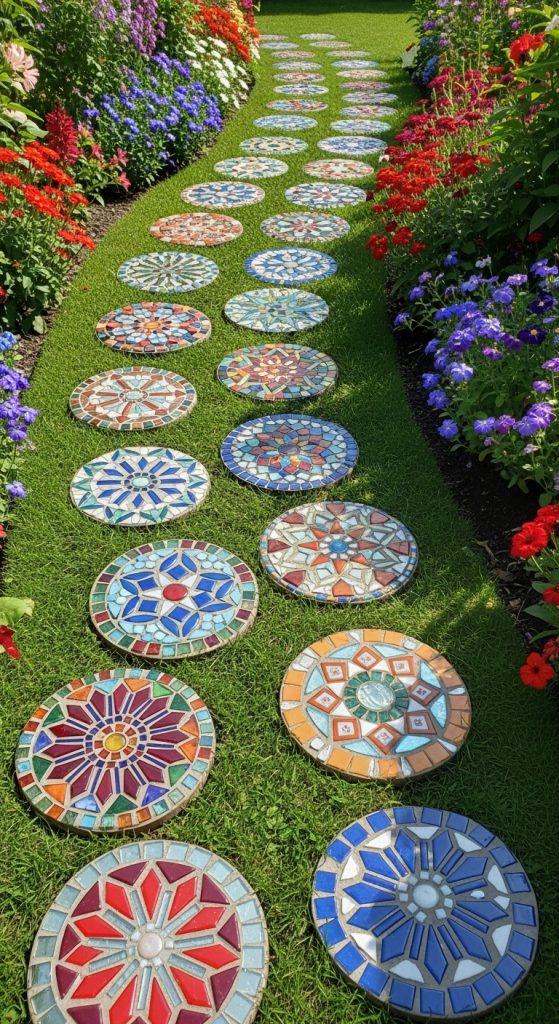
1. Mosaic Stepping Stones
Mosaic stepping stones add vibrant patterns and color to garden pathways. To begin, gather materials such as concrete mix, decorative tiles, glass pieces, or broken china, a mold for the stone, adhesive, and grout. Prepare the mold by coating it with a thin layer of cooking oil to make removal easier. Mix the concrete according to instructions and pour it into the mold. Before it dries, gently press colorful pieces of glass or tile into the surface to create your chosen design. Once the concrete is dry, remove the stepping stone and apply grout to fill any gaps between pieces. Clean off excess grout with a damp sponge. The finished mosaic stones not only enhance your walkway but also reflect sunlight beautifully. This project allows for endless creativity, as you can choose any color scheme or pattern. Proper sealing helps the stones withstand outdoor weather, ensuring they remain a long-lasting decorative feature in your garden.
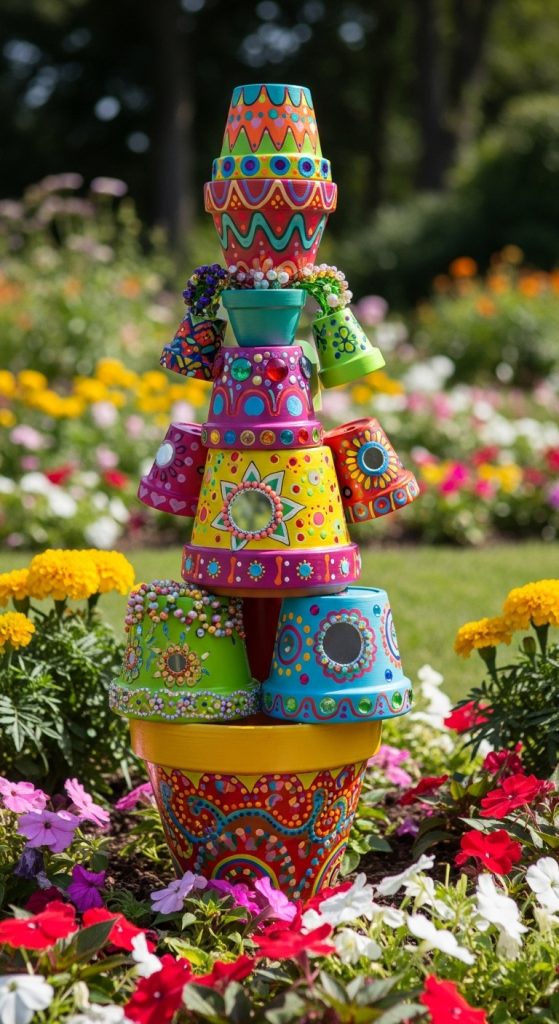
2. Painted Clay Pot Totems
Painted clay pot totems are whimsical vertical sculptures that add a playful touch to gardens. To make them, you need several terracotta pots in different sizes, outdoor acrylic paint, brushes, and a metal or wooden rod for stacking. Begin by cleaning and drying the pots thoroughly. Paint each pot with different designs—stripes, dots, or floral motifs work well. Use weather-resistant sealer after painting to protect the designs. Once dry, stack the pots upside down on a rod anchored in the ground, alternating sizes for balance and visual interest. The totem can stand beside garden beds, along pathways, or near a patio. For materials, choose paints designed for outdoor use to prevent fading. Preparation also includes ensuring the rod is stable and driven deeply enough into the soil for support. This project blends color and structure, turning simple pots into sculptural art that reflects personality and joy. It’s easy, affordable, and ideal for family-friendly creative sessions.
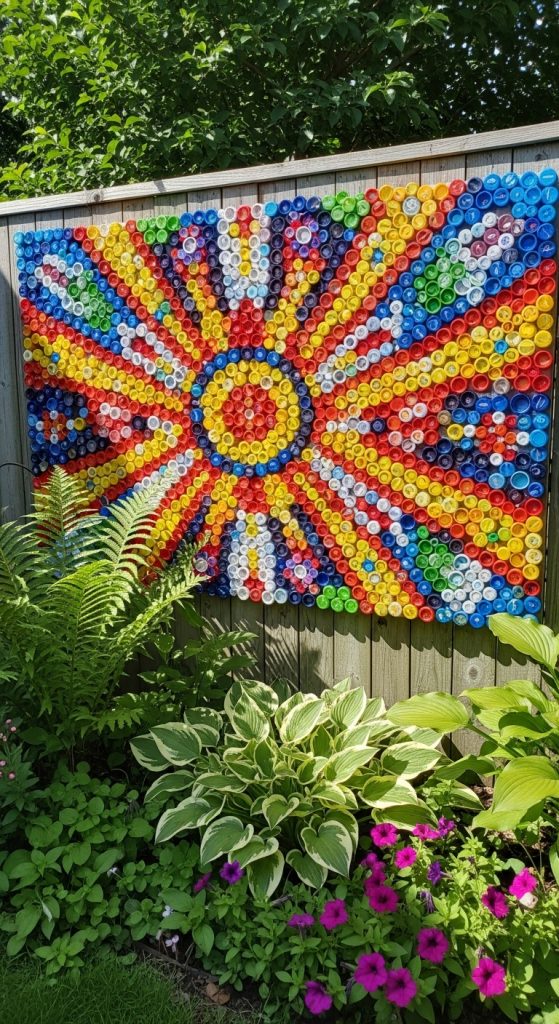
3. Bottle Cap Garden Mural
Recycling can be artistic, and a bottle cap mural is an eco-friendly way to decorate your garden wall or fence. Gather colorful plastic or metal bottle caps, plywood or outdoor board, weatherproof adhesive, and paint for the background. Begin by cleaning and sorting the bottle caps by color. Sketch a simple design or pattern on the board, such as a tree, sun, or geometric shape. Paint the background first, then glue the caps onto the surface following your design. Allow ample time to dry and seal with a clear outdoor varnish. Preparation involves selecting a sturdy base that can withstand moisture and securing it properly to a fence or wall. The caps reflect sunlight, creating a vibrant and textured look. This project is sustainable and eye-catching, transforming discarded materials into a colorful art installation. It’s a perfect weekend project for families or community groups looking to beautify an outdoor area with something creative and eco-conscious.
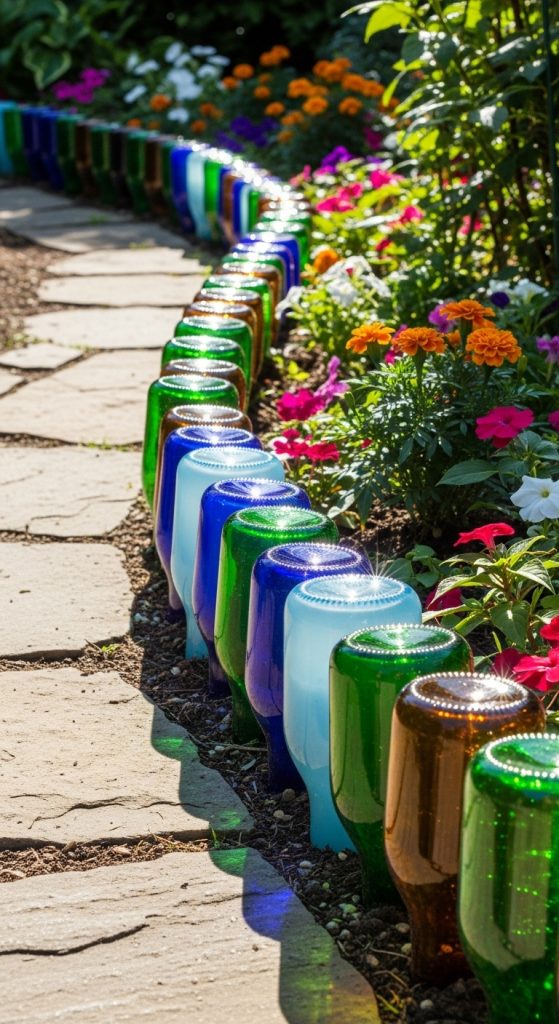
4. Recycled Glass Bottle Border
Using recycled glass bottles as a garden border combines practicality with artistic beauty. Collect bottles of different shapes and colors, such as green, blue, and amber. Preparation involves cleaning each bottle thoroughly and removing labels. Dig a shallow trench along the desired garden edge, about half the height of the bottles. Place the bottles upside down in the trench, alternating colors to create a mosaic-like border. Fill the trench with soil or sand to secure the bottles firmly in place. The glass catches sunlight, creating a sparkling effect throughout the day. Materials are simple and inexpensive—mainly recycled bottles, basic garden tools, and gloves for safety. The project works well for defining flower beds, pathways, or vegetable plots. To enhance durability, ensure bottles are firmly packed and slightly tilted for water drainage. This eco-friendly border not only reduces waste but adds a unique artistic detail that enhances the character and color of your outdoor space.
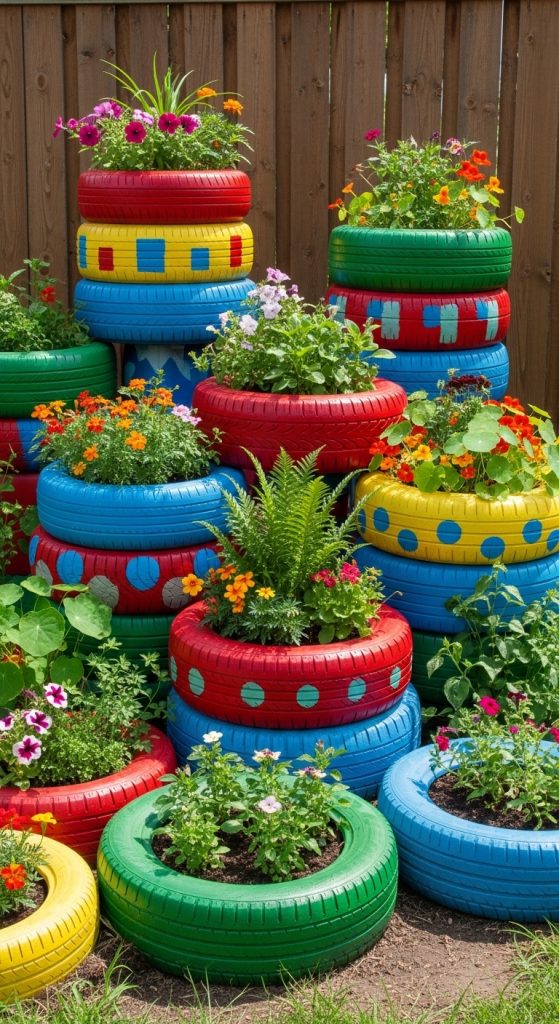
5. Upcycled Tire Planters
Transforming old tires into colorful planters is an excellent way to reuse materials while creating garden art. Gather old car tires, outdoor paint, soil, and plants of your choice. Clean the tires thoroughly and apply a base coat of primer suitable for rubber surfaces. Once dry, paint the tires with vibrant outdoor paint—try bold hues like turquoise, yellow, or magenta. For hanging planters, drill small holes and attach chains or sturdy rope. For ground planters, simply stack or arrange them creatively. Fill with soil and plant flowers, herbs, or succulents. Preparation also includes checking for drainage holes at the bottom to prevent water accumulation. These planters can form colorful garden edges or focal points when stacked in tiers. They add structure and color without the cost of new pots. Durable and weather-resistant, painted tire planters combine sustainability and creativity, turning discarded items into cheerful pieces that bring life and personality to any garden.
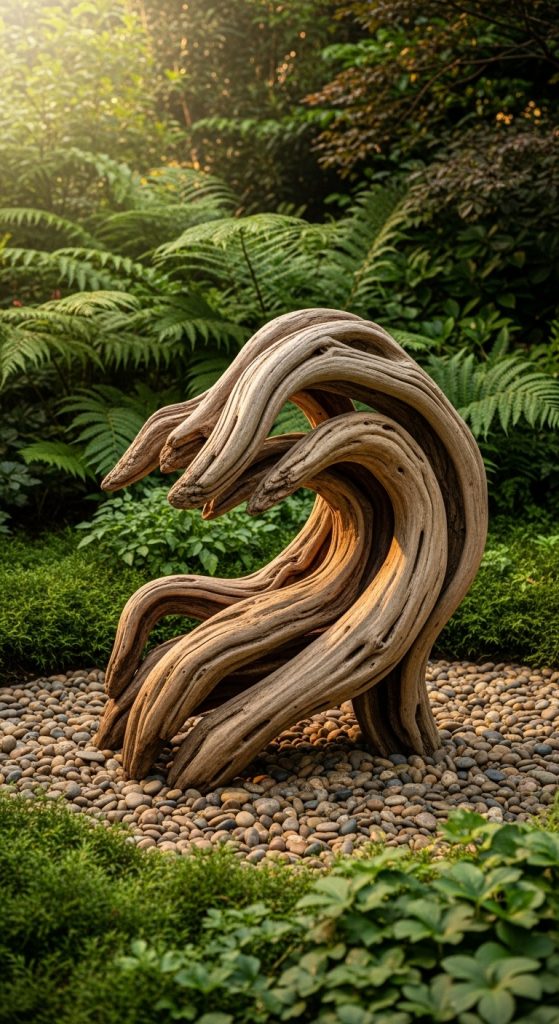
6. Driftwood Garden Sculptures
Driftwood offers a natural, rustic element that blends perfectly with outdoor surroundings. To create a driftwood sculpture, collect pieces of weathered wood from beaches or lakesides. You will need screws, nails, and outdoor wood glue for assembly, along with protective varnish. Begin by laying out your design—this could be an abstract shape, animal figure, or a simple vertical arrangement. Clean and dry the wood before attaching pieces together. Once assembled, seal with a clear varnish to protect from moisture. Preparation involves choosing a stable base, such as a large rock or concrete block, to anchor the sculpture securely. Driftwood art fits both modern and natural garden styles, adding texture and depth. You can also incorporate stones or shells into the structure for added detail. The end result is a unique organic sculpture that looks timeless and earthy. This project encourages creativity while respecting nature’s raw beauty, making it a rewarding addition to any garden.
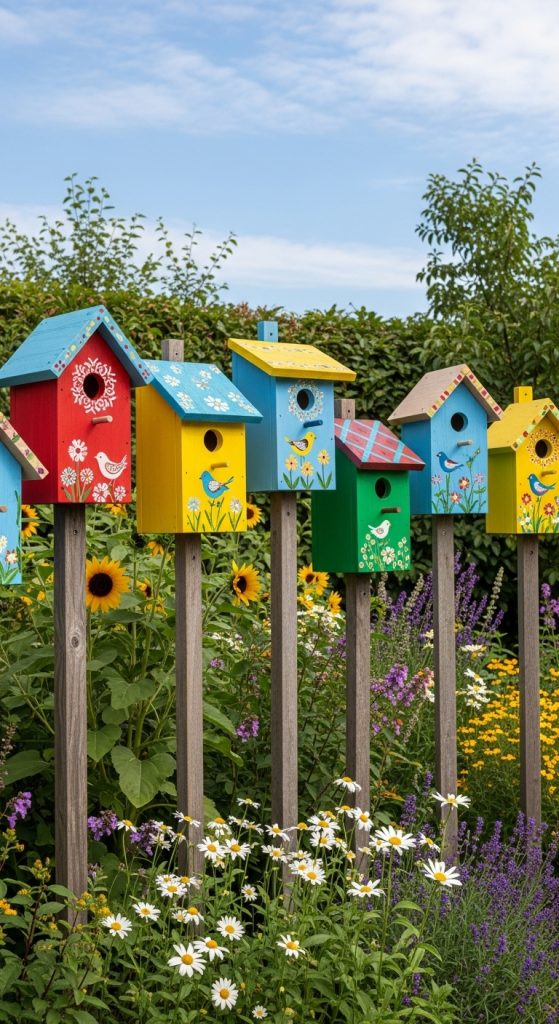
7. Decorative Birdhouses
Decorative birdhouses serve both functional and artistic purposes by attracting wildlife and enhancing visual appeal. Materials needed include wood planks, nails, paint, brushes, and weatherproof sealant. Begin by designing your birdhouse, ensuring the entrance hole size suits the bird species common in your area. Cut and assemble the wooden pieces using nails or screws. Once built, sand the surface and paint in cheerful, natural colors such as sky blue or moss green. Add patterns or stencils for decoration, and finish with an outdoor sealant for weather resistance. Preparation involves choosing a safe location—ideally in partial shade and away from predators. Mount the birdhouse on a pole or tree at an appropriate height. These charming pieces can be made in various styles, from minimalist modern to colorful Bohemian. Aside from their beauty, they support garden ecosystems by providing nesting spots. Decorative birdhouses symbolize creativity and care for nature, making them both practical and delightful garden art.
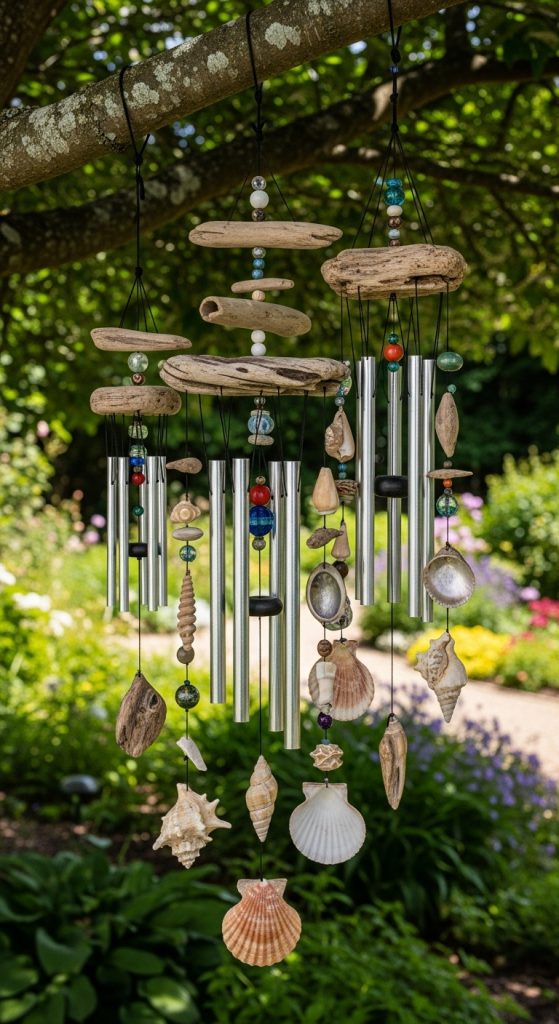
8. Garden Wind Chimes
Wind chimes combine sound and movement, bringing sensory charm to your garden. To make them, gather materials such as driftwood, metal tubes, seashells, beads, fishing line, and hooks. Begin by drilling small holes into the chosen top piece—often a piece of driftwood or a sturdy branch. Thread the fishing line through and attach the chime elements, spacing them evenly to create pleasant sounds when the wind blows. Preparation involves balancing lengths and weights to achieve harmony. You can paint or stain the driftwood for extra color, or leave it natural for a rustic effect. Metal tubes produce crisp tones, while shells and glass pieces offer softer sounds. Hang the chime in a breezy but sheltered location, such as under a tree or porch roof. Garden wind chimes create a peaceful atmosphere and add an artistic touch to outdoor spaces. The materials are affordable, and each design can be customized to reflect your aesthetic preferences.
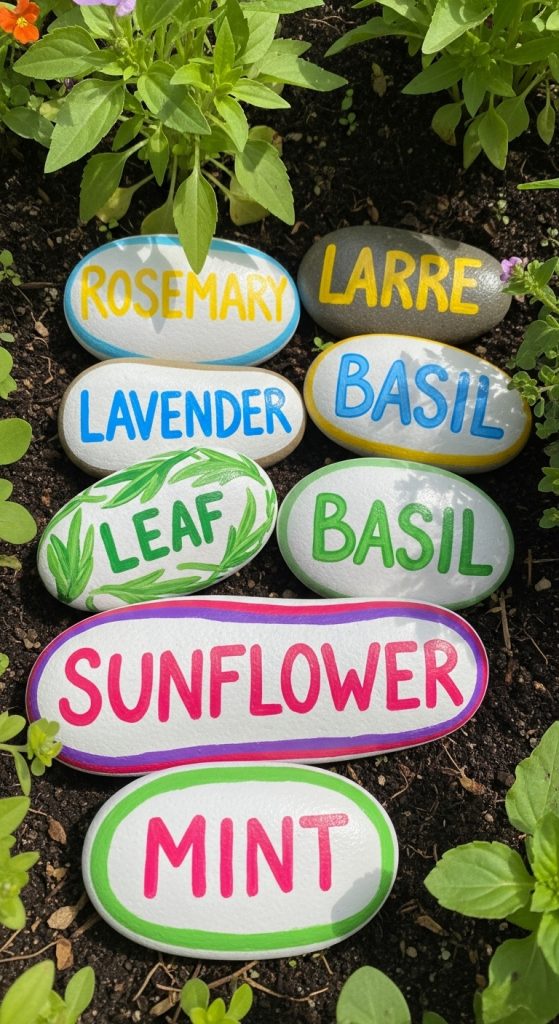
9. Painted Rock Garden Markers
Painted rock markers are practical and artistic additions to herb or flower gardens. Gather smooth, flat rocks, acrylic paints, brushes, and weatherproof sealant. Clean and dry each rock before painting. Use a base color and then paint the plant name or draw small illustrations such as leaves or flowers. Allow the paint to dry completely before applying a clear sealer to protect against rain and sun. Preparation includes choosing rocks that are large enough for visibility but small enough to sit neatly in the soil. Arrange them near the respective plants for easy identification. This project encourages creativity and helps organize garden spaces efficiently. Materials are inexpensive, and the process is relaxing and accessible for all ages. Painted rock markers can be personalized with different fonts and colors to match your garden’s overall theme. They add a touch of charm and whimsy, making your planting areas both functional and decorative.
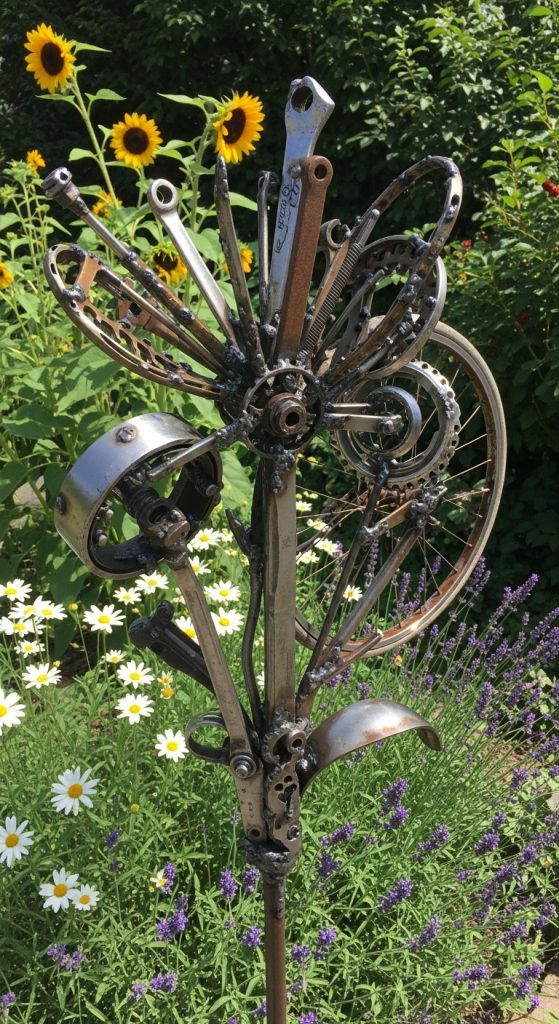
10. Recycled Metal Yard Sculptures
Creating yard sculptures from recycled metal gives your garden a bold artistic statement while promoting sustainability. Materials may include old tools, bicycle parts, nuts, bolts, and wire. Preparation involves cleaning and sorting the metal pieces by size and shape. Using a welding kit or heavy-duty adhesive, combine them into desired forms—flowers, animals, or abstract designs work well. Paint the sculpture with rust-resistant paint or leave it unpainted for an industrial look. Mount the piece on a solid base for stability, ensuring it can withstand outdoor weather. Recycled metal sculptures introduce contrast and creativity, merging industrial textures with natural surroundings. The process allows endless experimentation with forms and arrangements. Always wear protective gloves and goggles while working with metal. The result is a distinctive art piece that reflects craftsmanship and imagination. Whether large or small, these sculptures become focal points in the garden, symbolizing the beauty of transformation and creative reuse.


Leave a Reply