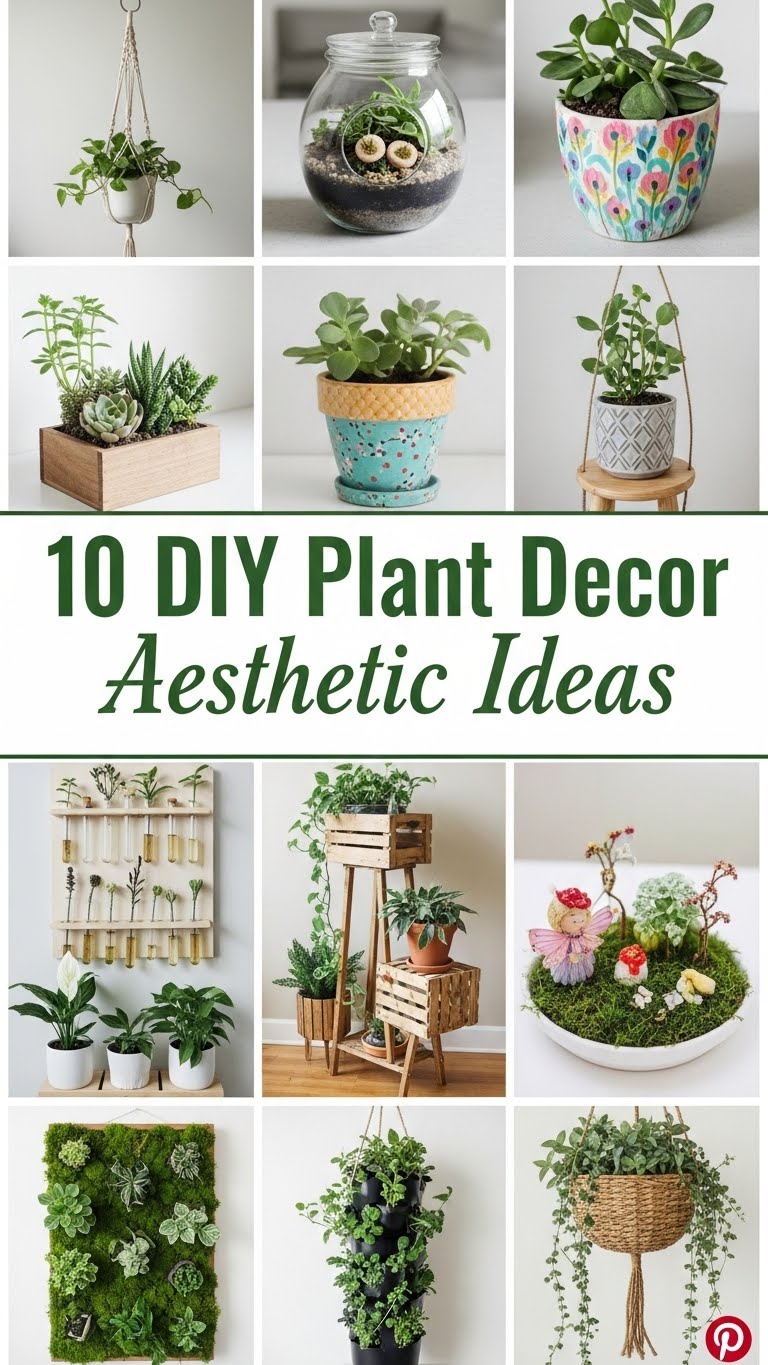
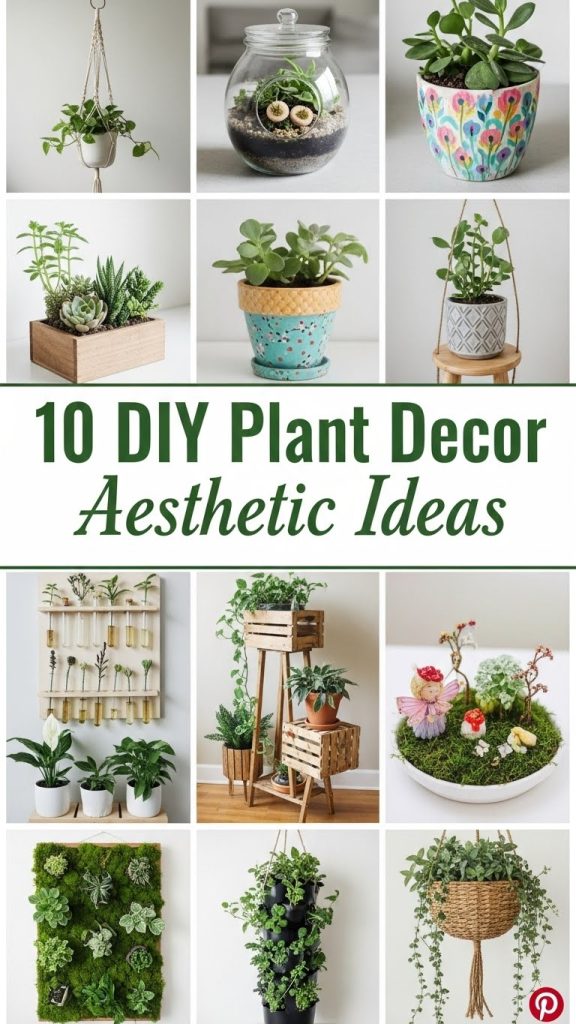
Plants have become one of the most accessible and impactful ways to elevate home decor. Whether you prefer minimal, bohemian, rustic, modern, or cozy interior styles, plants add life and personality to your space without requiring a major investment. DIY plant decor ideas offer an affordable and creative approach that allows you to customize your home while enjoying the satisfaction of crafting something beautiful with your own hands. This comprehensive guide explores ten aesthetic DIY plant decor ideas, each explained in detail with preparation steps, materials needed, design variations, and helpful tips to achieve professional looking results. These projects are budget friendly, beginner friendly, and adaptable to small or large spaces.
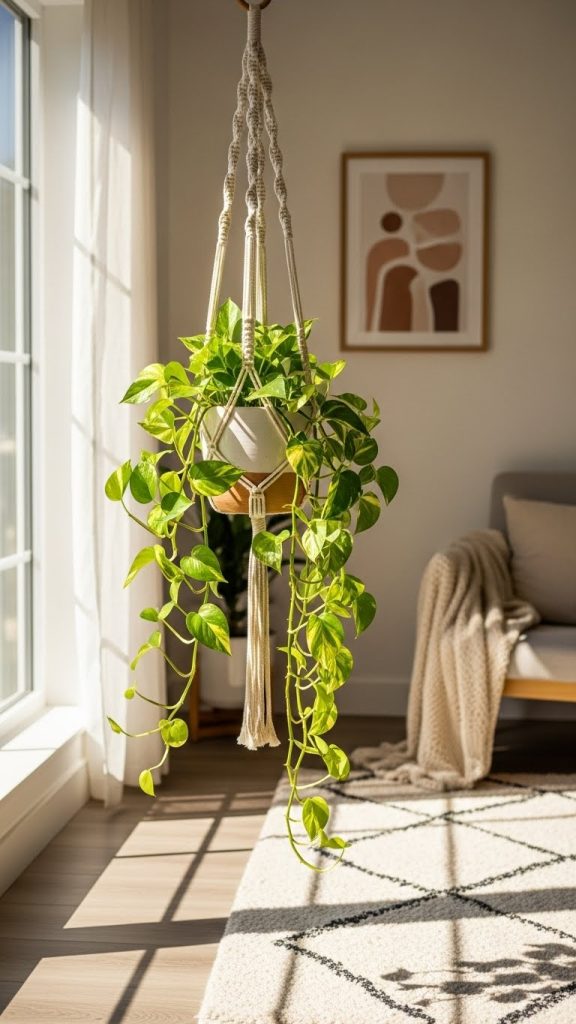
1. DIY Macrame Plant Hanger
Macrame plant hangers add a natural and artistic touch to any room, making them a classic choice for modern boho interiors. Creating your own macrame hanger is affordable and versatile since it can be customized in terms of length, knot design, and overall style. To begin, gather cotton macrame cord, a wooden ring, scissors, and a small potted plant. Preparation involves measuring equal lengths of cord and securing them to the wooden ring. Basic knots such as square knots or spiral knots are commonly used and easy for beginners. As you work your way down, create sections where the cords interlace to form the cradle that will securely hold the pot. You can choose to keep the design minimal or experiment with complex knot patterns depending on your skill level. Once finished, place your plant inside and hang it from a ceiling hook or wall bracket. This project is ideal for small spaces because it uses vertical room rather than floor area. It works beautifully with trailing plants like pothos, ivy, or string of pearls. With simple materials and a bit of practice, you can create macrame hangers that look stylish and store bought.
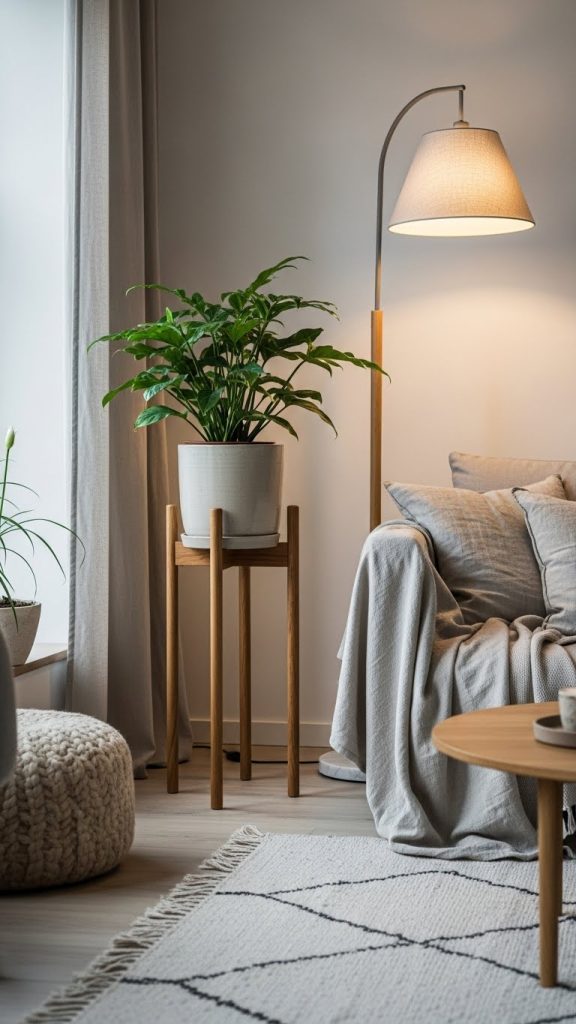
2. DIY Wooden Plant Stand
A wooden plant stand elevates your plants, literally and visually, adding height, dimension, and structure to your indoor plant display. To make a DIY plant stand, you will need wooden dowels or small planks, wood glue, screws, sandpaper, and basic cutting tools. Begin by determining the height and width you want. Most minimalist plant stands follow a cross leg design where two wooden pieces intersect at the center to form a stable base. Smooth the wood using sandpaper until the surface is even and safe to handle. Attach the pieces using glue and screws for stability. If you prefer a mid century style, add round dowels for the legs and paint or stain the wood in walnut or natural tones. The stand can hold a ceramic, clay, or woven pot and instantly enhances the visual appeal of your plant. This project is excellent for those who enjoy woodworking but still want something simple enough for beginners. The best part is that the design can be scaled to fit large or small pots. Once placed in your living room, bedroom, or entryway, the plant stand gives your space a refined and well styled appearance.
3. DIY Terracotta Pot Makeover
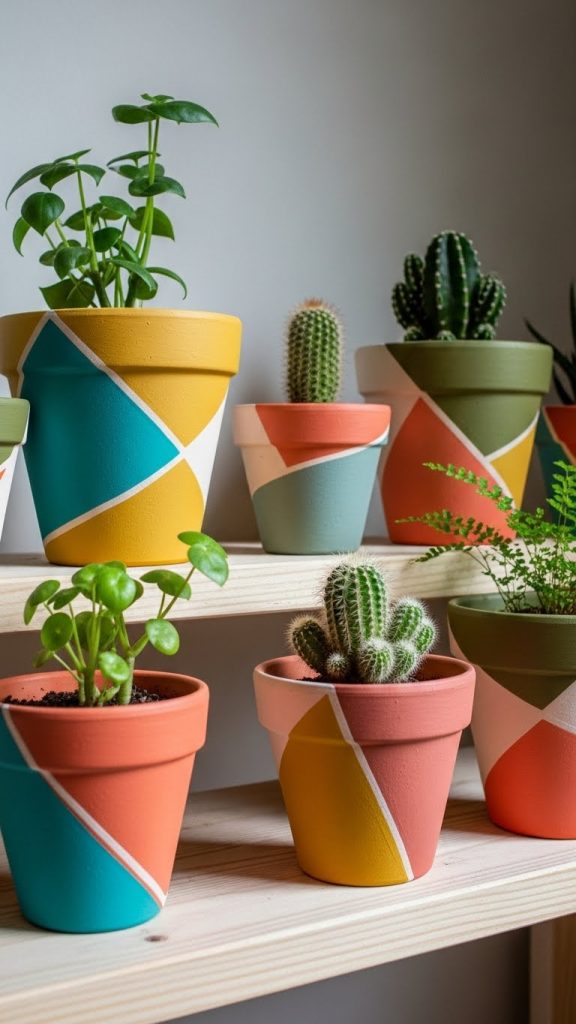
Terracotta pots are affordable but can appear plain without added creativity. A DIY makeover transforms them into aesthetic decor pieces that match your room style. Begin by cleaning your pots with a damp cloth and letting them dry completely. Next, gather acrylic paint, paintbrushes, painter’s tape, sealant spray, and optional texture paste. You can create minimal color block designs using tape to mark clean lines. For a rustic look, sponge painting creates soft natural patterns. If you prefer a modern look, use matte neutral tones such as beige, cream, or soft gray. After painting, seal the surface to protect it from moisture and scratches. Another creative option is to use texture paste to form rough artistic patterns that give the pot a handmade artisan feel. These textured designs look especially appealing with neutral decor styles like Scandinavian or Japandi. Once dry, pair your custom pot with a lush green plant. This project is cost effective and suitable for both indoor and outdoor use. It allows you to create matching pot sets that unify your decor and reflect your personal style.
4. DIY Floating Plant Shelves
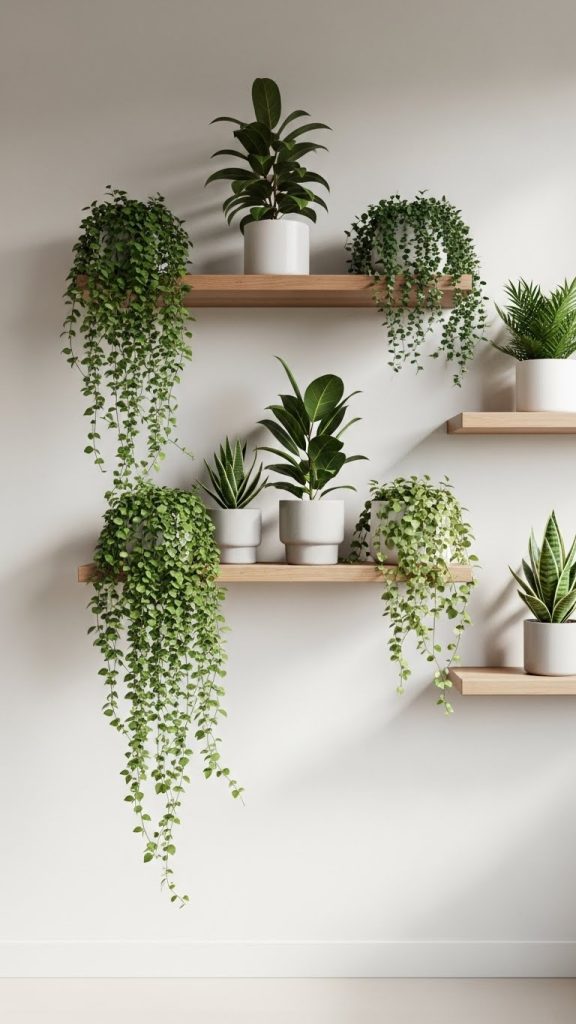
Floating shelves provide a clean and elegant way to showcase plants while maintaining an airy aesthetic. They are perfect for small homes because they make use of wall space rather than floor space. Materials needed include wooden boards, wall brackets or concealed shelf supports, screws, a drill, measuring tape, and optional stain or paint. Begin by measuring the wall area and deciding how many shelves you want. Cut and sand the wood, then coat it with paint or stain for a polished appearance. Install the brackets securely into wall studs to ensure the shelves can handle the weight of the plants. Once installed, arrange a mix of plants on each shelf. Combine trailing plants with upright plants for visual balance. Floating shelves also allow you to add decor elements like books, candles, or small frames for a more curated look. With proper preparation and the right choice of wood tone, these shelves can fit into many decor themes such as modern, rustic, minimalist, or bohemian. The final display becomes a statement wall that enhances your interior without clutter.
5. DIY Glass Jar Propagation Station
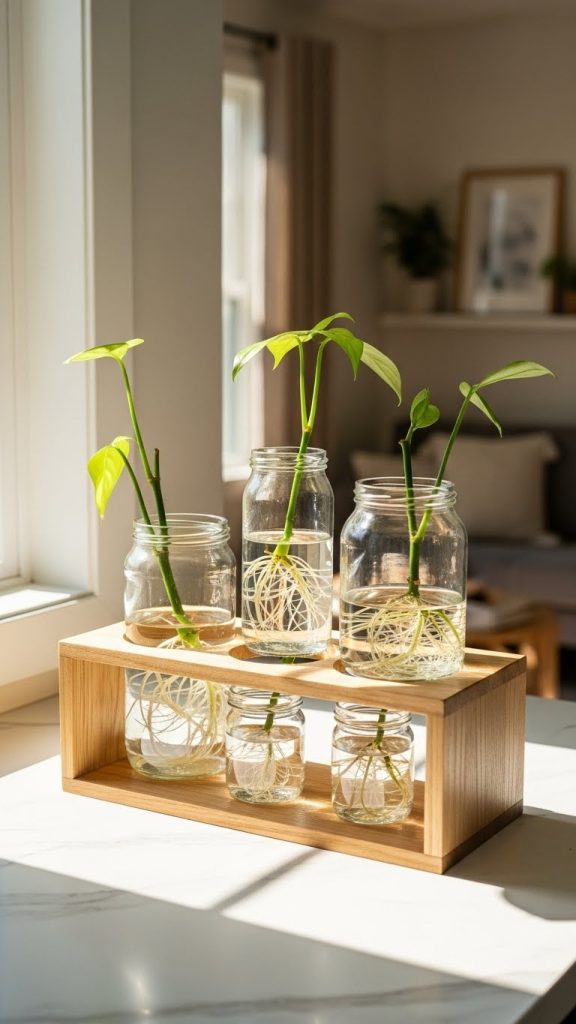
Propagation stations are popular decor pieces that serve both aesthetic and functional purposes. They allow you to grow new plants from cuttings while displaying them in a visually appealing setup. For this DIY project, gather small glass jars, test tube holders or wooden stands, a drill, wood pieces, sandpaper, and optional paint. Begin by crafting or buying a simple wooden frame that can hold multiple jars or glass tubes. Drill holes into the wood to insert the jars or tubes securely. Sand and paint the wood if desired. Place the structure near natural light and fill the jars with clean water. Insert plant cuttings from pothos, philodendron, spider plants, or herbs. Over time, roots will begin to grow, turning your propagation station into a living decor piece. This project is ideal for minimalistic or modern styles due to its simple and clean appearance. It can be placed on desks, shelves, or countertops. As the cuttings grow, the station becomes even more visually charming and serves as a sustainable way to expand your plant collection.
6. DIY Hanging Glass Terrariums
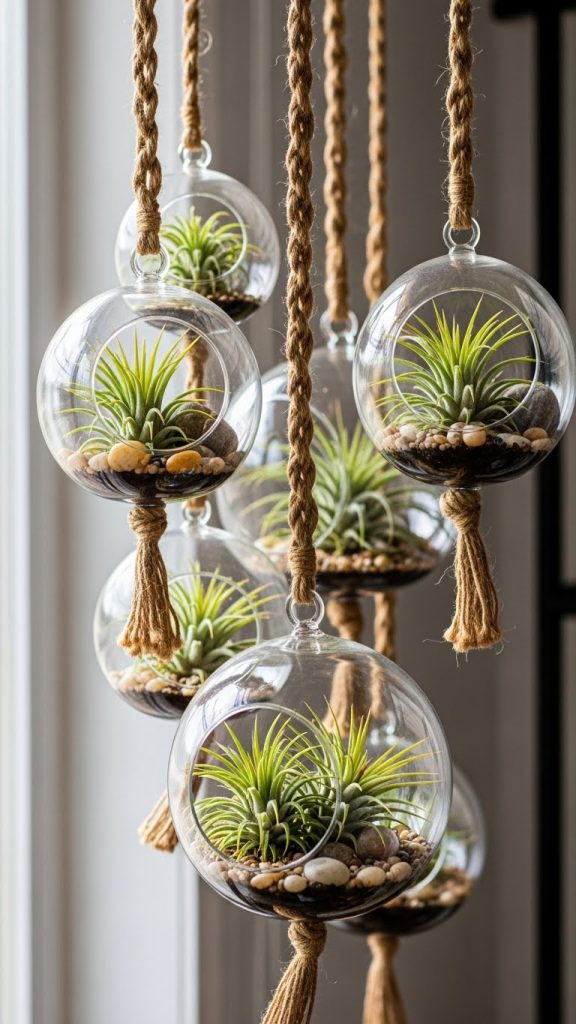
Hanging glass terrariums create a magical floating garden effect, perfect for aesthetic interiors that incorporate nature inspired elements. To make your own terrarium, gather glass orbs, twine or jute rope, pebbles, activated charcoal, potting soil, and small plants like air plants or succulents. Begin by cleaning the glass orbs to ensure clarity. Insert a layer of pebbles for drainage, followed by activated charcoal to prevent odor and mold inside the terrarium. Add a small amount of soil if you are planting succulents or keep it soil free if you are using air plants. Place the plants carefully and secure them with decorative elements such as tiny stones or dried moss. Attach the rope around the top of the glass orb and hang it near a window where it receives indirect light. This project requires minimal maintenance and suits those who prefer low effort plant decor. Hanging terrariums are particularly beautiful when arranged in clusters at varying height levels. They add elegance, dimension, and a serene natural feel to your home.
7. DIY Painted Plant Basket
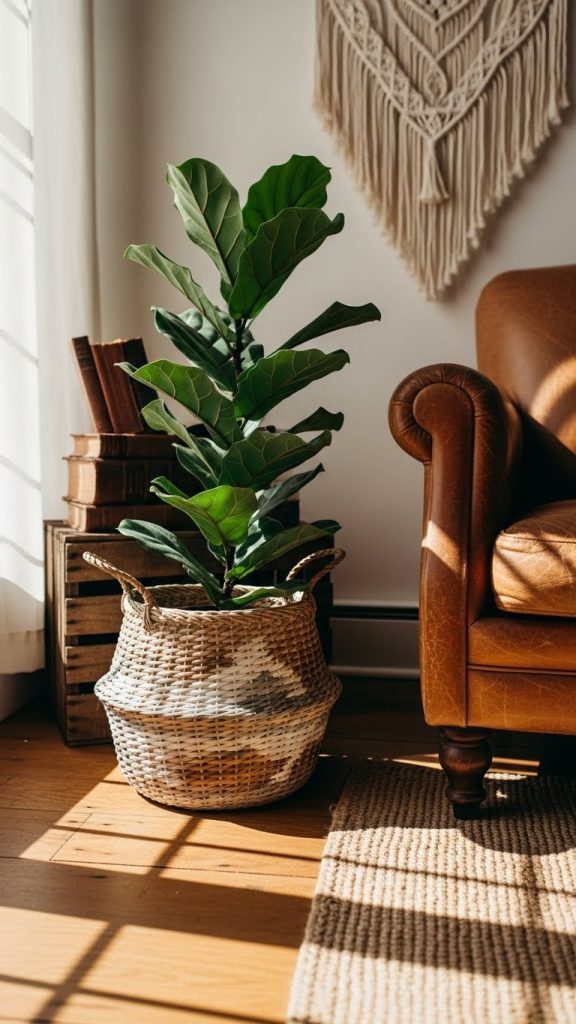
Woven baskets are popular for their natural texture and versatility. Transforming them into painted plant baskets makes them more personalized and visually appealing. Materials include seagrass or wicker baskets, acrylic paint, painter’s tape, brushes, and a protective sealant. Begin by cleaning the basket and deciding on your design. Tape can help you achieve clean straight lines for color blocking patterns. Neutral tones work well for minimalist interiors, while earthy or warm shades complement bohemian aesthetics. Apply the paint evenly and allow each layer to dry before adding more details. Once finished, apply a sealant to protect the paint from moisture and wear. Insert your plant pot inside the basket, using a plastic liner if needed. These baskets work well for medium to large plants and serve as stylish storage decor. This DIY project requires minimal time and experience, making it ideal for beginners. The natural material of the basket enhances plant textures and blends seamlessly into living rooms, bedrooms, or cozy corners.
8. DIY Pebble Tray for Plants
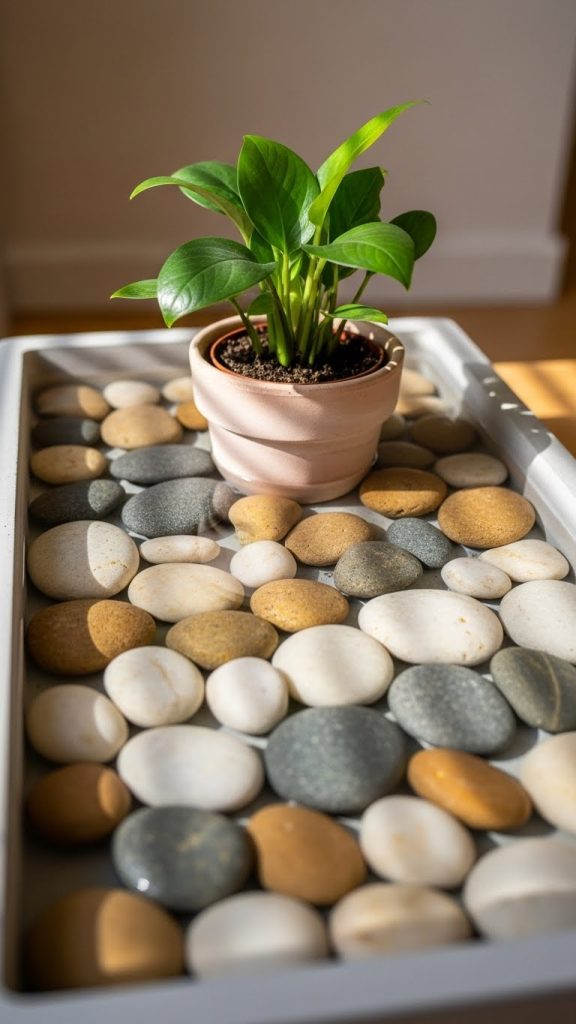
A pebble tray is both decorative and practical, especially for plants that prefer humidity such as ferns, calatheas, and peace lilies. To create a DIY pebble tray, gather a shallow tray, river stones or pebbles, and water. Begin by cleaning the tray and spreading a layer of pebbles across the bottom. Fill the tray with water until it reaches just below the top of the stones. Place your potted plant on top, ensuring the pot itself does not touch the water directly. As the water evaporates, it increases humidity around the plant while the stones add a natural decorative touch. You can customize the tray by painting the outer edges or using decorative pebbles in different colors. This project is inexpensive, quick, and useful for both plant health and visual appeal. Pebble trays can be placed on shelves, coffee tables, or windowsills. With minimal materials and preparation, you can create an aesthetic and functional plant accessory that enhances the overall look of your indoor garden.
9. DIY Vertical Plant Wall
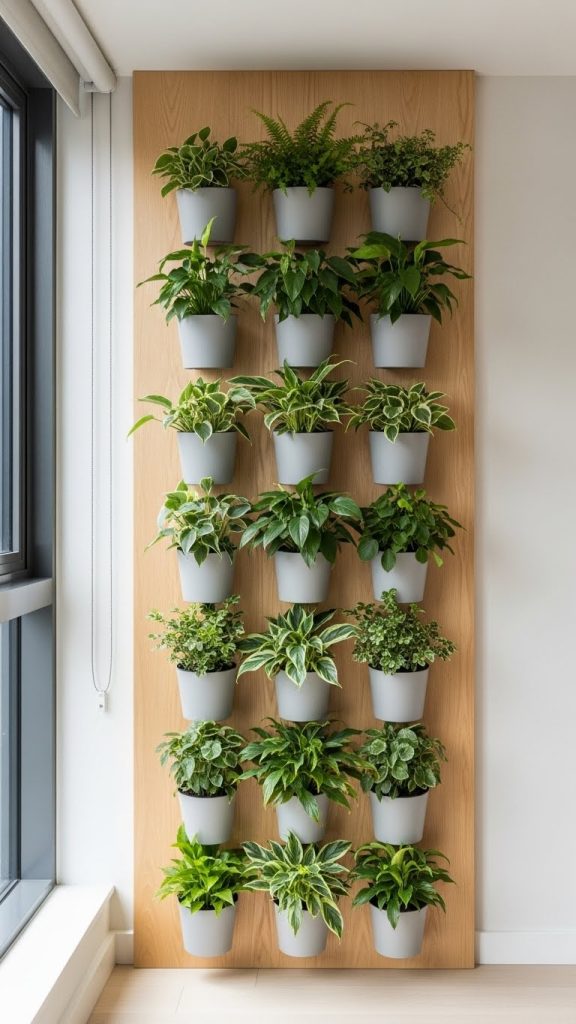
A vertical plant wall is a stunning way to display greenery while saving floor space. It creates a dramatic visual impact and suits modern, rustic, or indoor garden themed interiors. Materials needed include wooden panels, hooks, small pots, screws, a drill, and optional paint or stain. Begin by preparing the wooden board by sanding it for a smooth finish. Paint or stain it to match your interior design. Attach hooks evenly across the board, depending on how many plants you want to display. Use lightweight pots to avoid overloading the structure. Secure the pots to the hooks and hang the entire board on the wall using strong brackets. Choose plants that thrive in indirect light, such as pothos, philodendron, or ferns. A vertical plant wall can be arranged in geometric patterns or symmetrical rows for a clean and organized look. This DIY idea transforms blank walls into vibrant living art. It is ideal for apartments where space is limited. With careful planning and the right materials, your plant wall becomes a standout piece in your home.
10. DIY Concrete Plant Pot
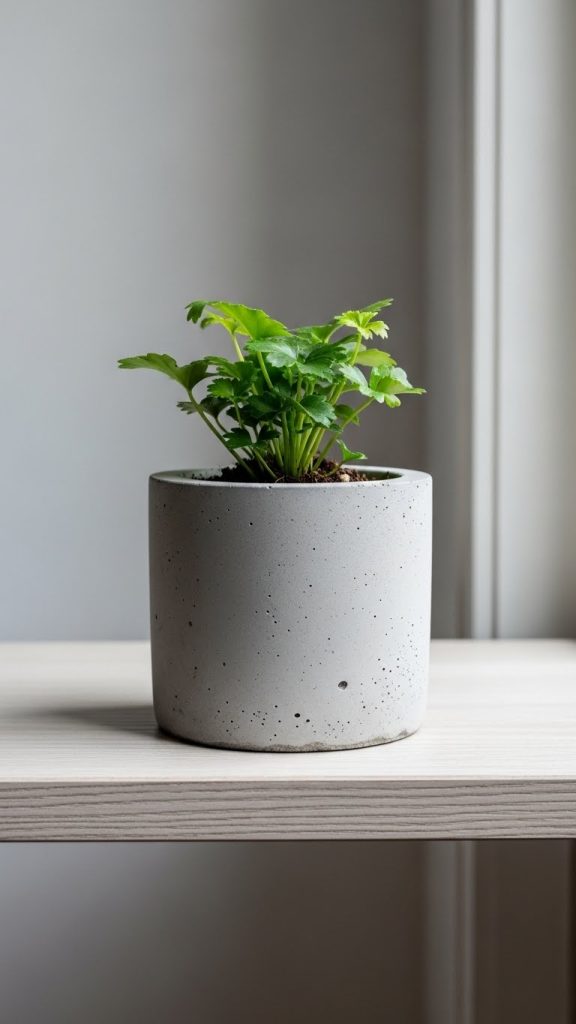
Concrete pots offer a modern industrial aesthetic that pairs well with minimal, contemporary, or rustic decor styles. They are surprisingly simple to make at home and highly customizable in size and shape. Materials include quick drying concrete mix, water, mixing containers, molds such as plastic cups or silicone molds, sandpaper, and optional paint. Begin by mixing the concrete according to the package instructions. Pour the mixture into your mold and insert a smaller mold inside to create the cavity for the plant. Allow the concrete to cure fully, usually around twenty four hours. Once the pot is dry, gently sand the edges for a smooth finish. You can keep the natural concrete look or paint it with neutral colors to match your decor. Concrete pots are durable and suitable for indoor or outdoor use. They also work well with succulents, cacti, and small foliage plants. This DIY project creates stylish and long lasting decor that looks high end but costs very little. With experimentation, you can create various shapes and patterns to expand your collection.




Leave a Reply